How to Style a Bouncy Hair Blowout using Mousse

By: Kenra Professional
August 2023
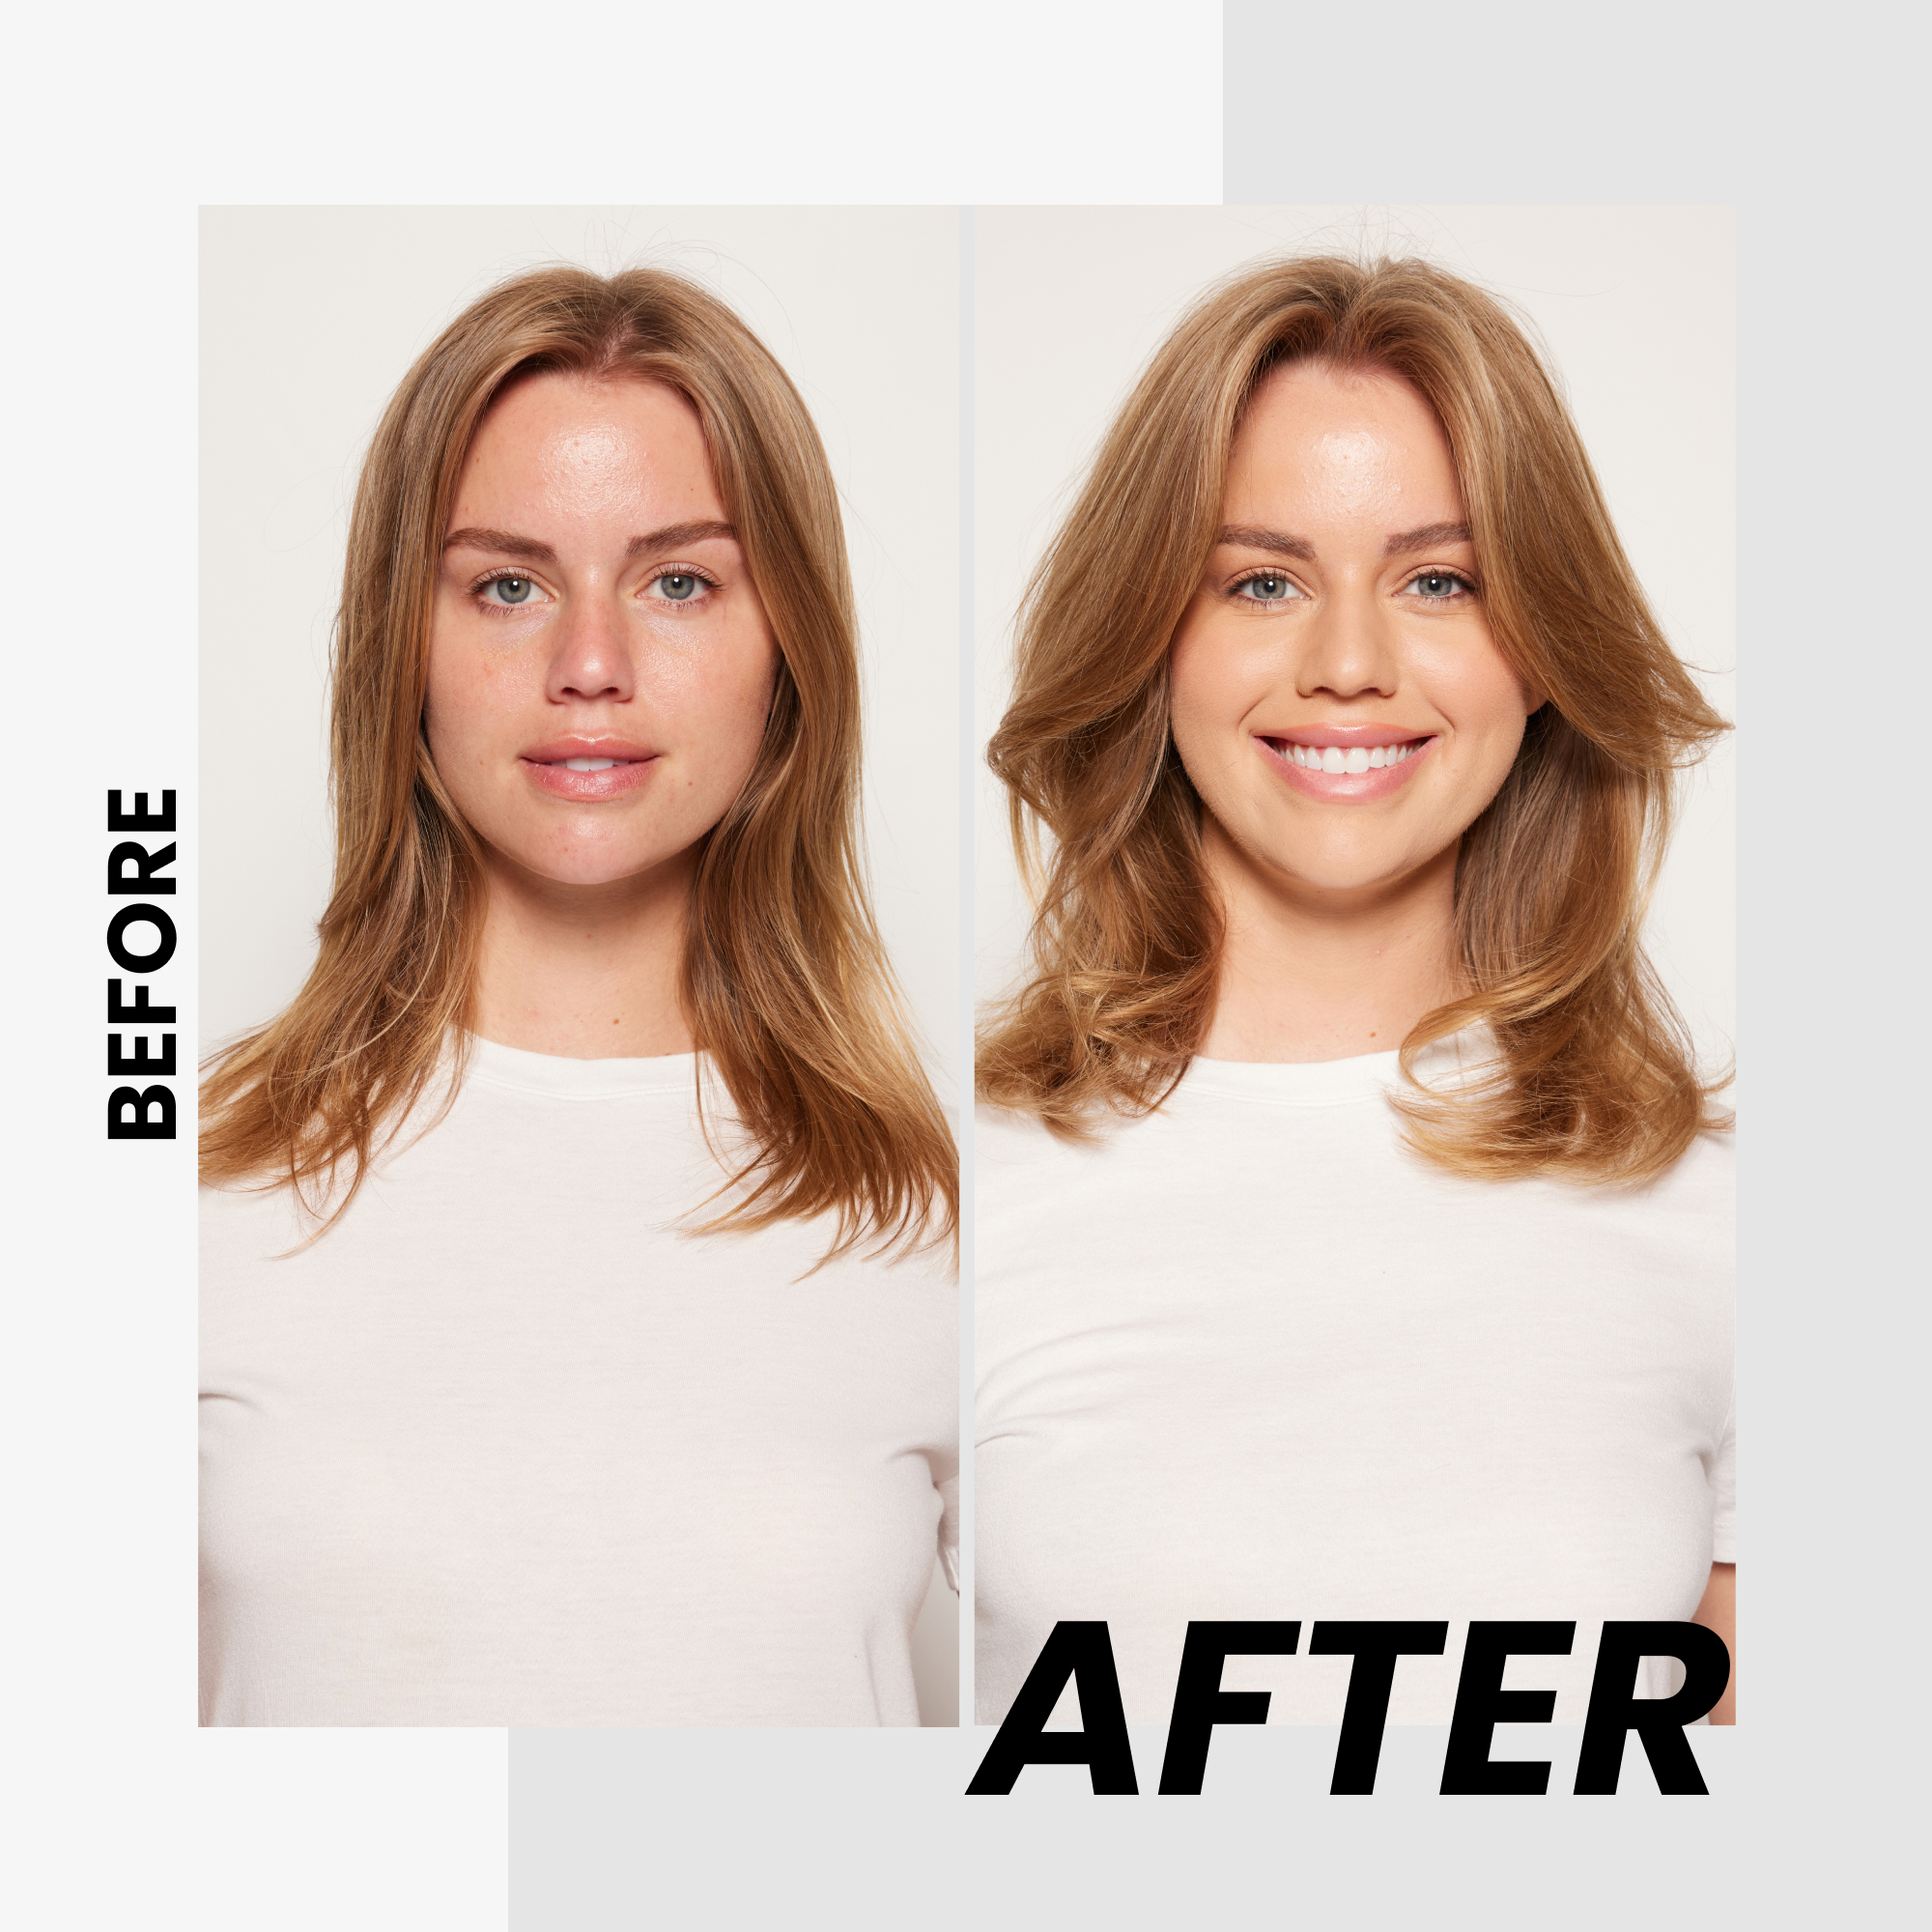
There's nothing quite like the feeling of a fresh, bouncy blowout that makes you feel like you're walking on cloud nine. If you're aiming for voluminous, full-bodied locks that radiate glamour and confidence, using mousse during your blowout can be a game-changer. Mousse not only adds lift and bounce but also helps in holding your style in place. In this blog, we'll take you through a step-by-step guide on how to create a stunning bouncy hair blowout with mousse as the main hero of the story.
Step 1: Gather Your Tools and Products
Before you begin, ensure that you have all the necessary tools and products ready:
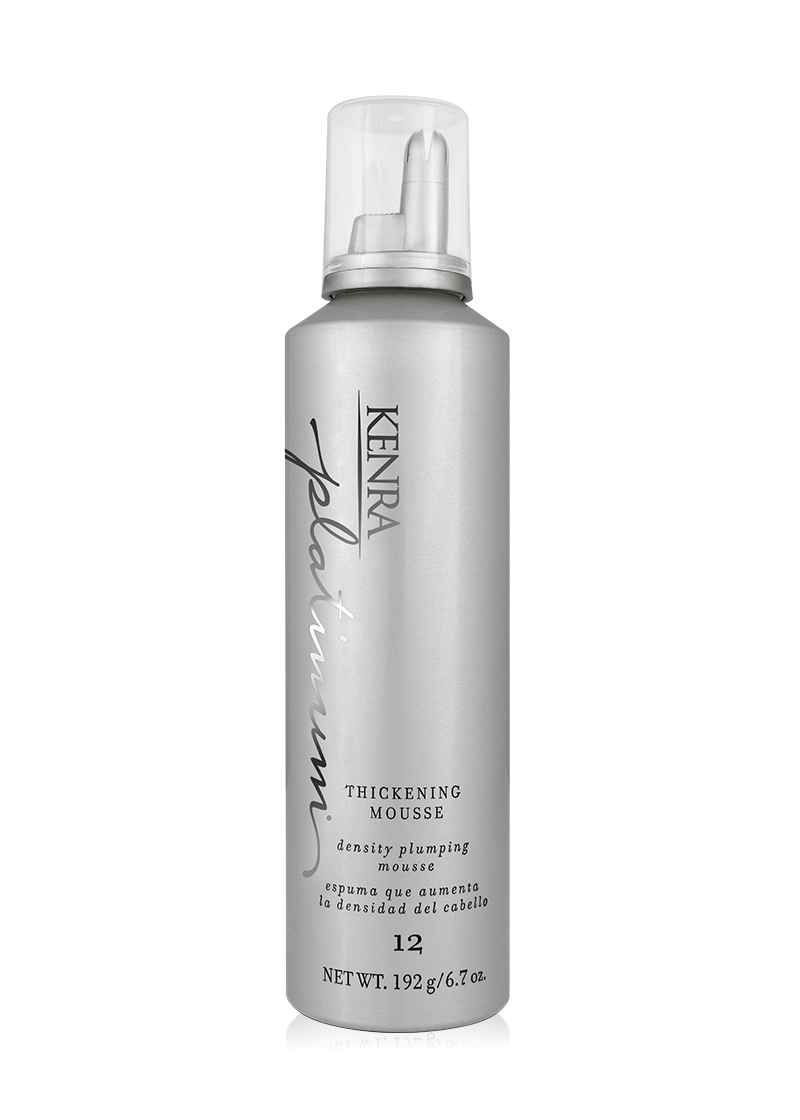
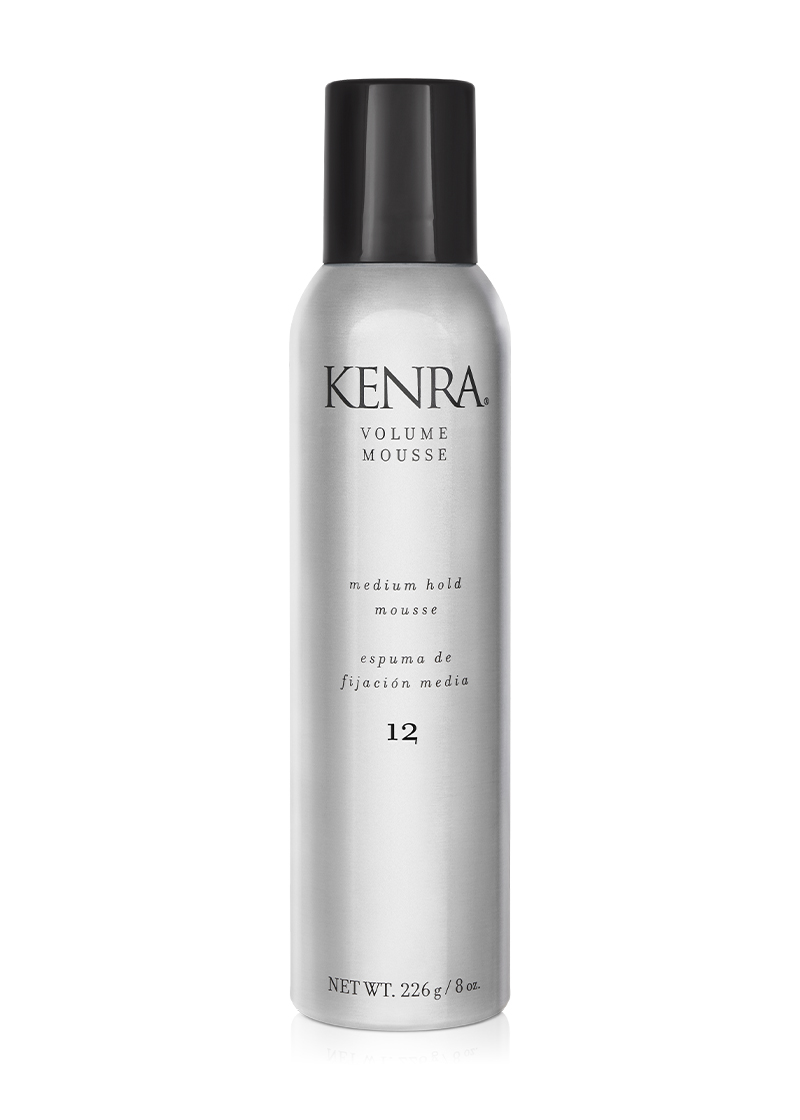
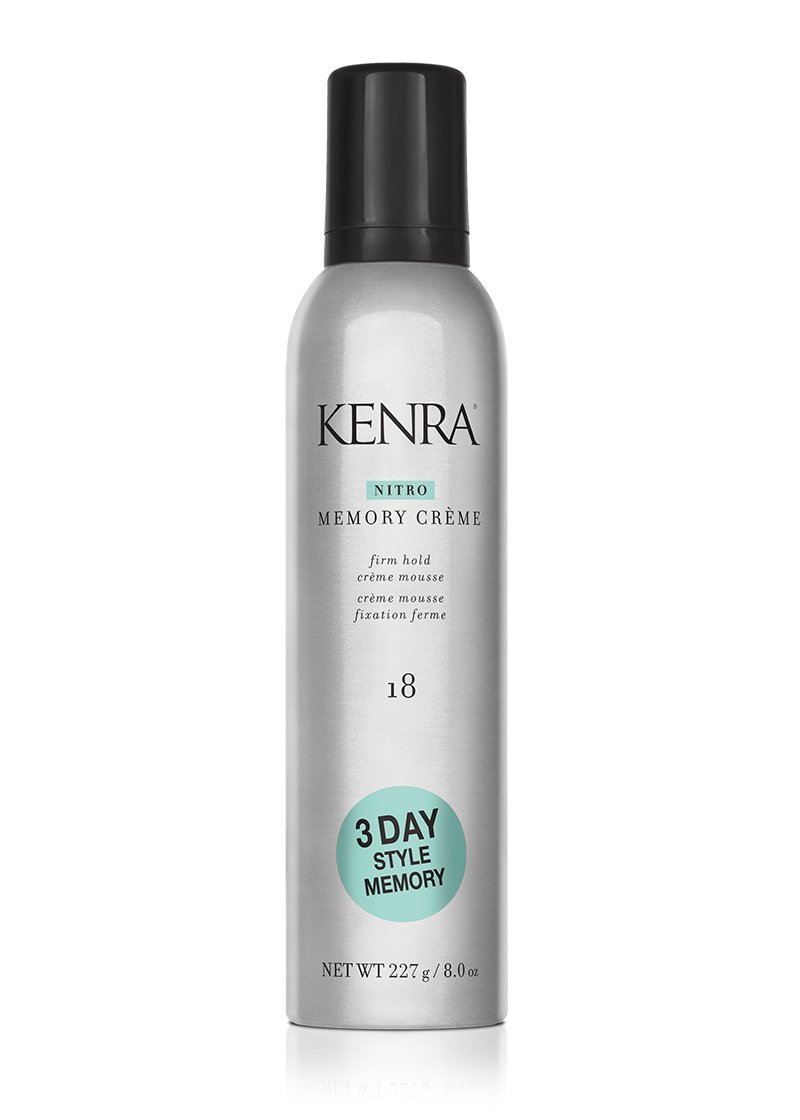
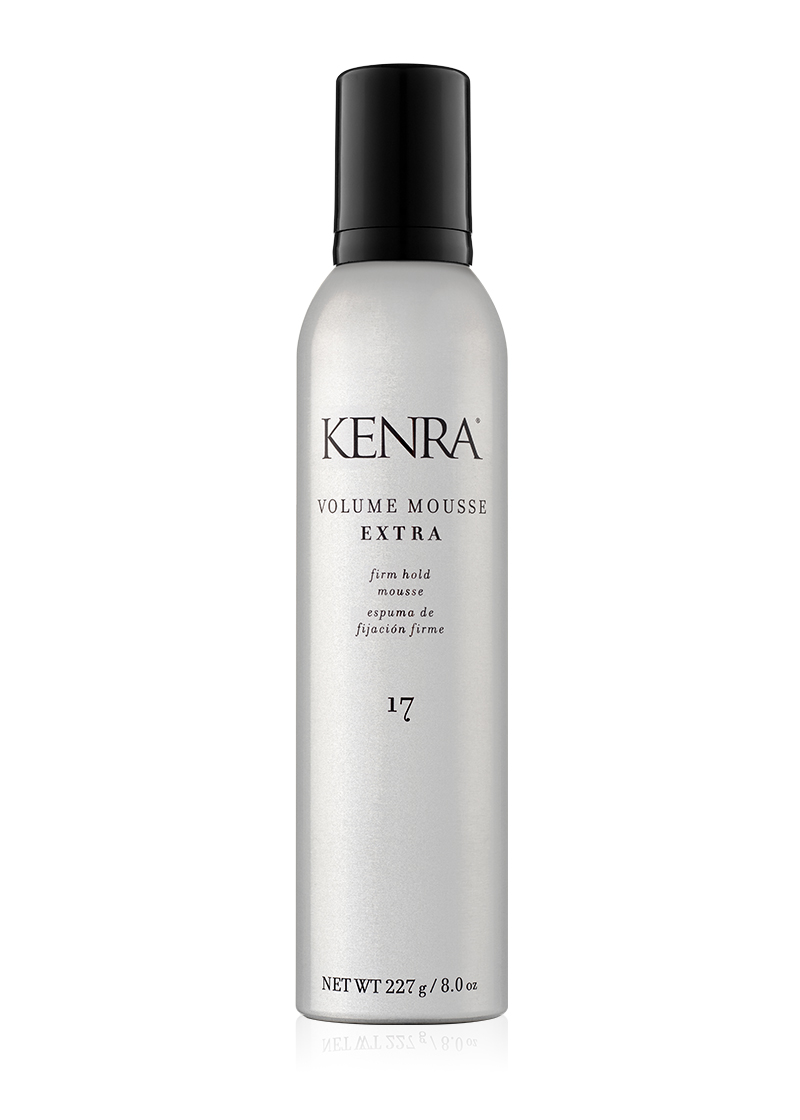
Mousse suitable for your hair type ( light-medium hold, extra volumizing, thickening, etc.)
Hairdryer with a concentrator nozzle attachment
Round brush with a medium/large barrel
Hair clips
Hairbrush or comb
Hairspray (optional, for additional hold)
Step 2: Start with Clean, Damp Hair
Begin by washing your hair with a volumizing shampoo and conditioner to create a solid foundation for your blowout. Towel-dry your hair gently to remove most of the excess water. It's important to start with damp hair, as mousse tends to work best on damp strands.
Step 3: Apply Heat Protectant and Mousse
Spritz a heat protectant spray or creme evenly throughout your hair to shield it from the potential damage of heat styling. Then, start by taking a generous amount of hair mousse and emulsify it between your palms. Distribute and layer the mousse evenly from the roots to the ends, focusing on the roots for maximum lift and volume.
A few things to note: don’t be afraid to add more mousse to the hair if the initial application was too little or does not cover the target area completely. In addition, Kenra Professional’s traditional mousses also contain thermal protection of up to 428-250 degrees, so if you’re worried that the heat protectant spray might not have covered every square inch of your hair, the mousse will help to fill in some of the gaps!
Step 4: Section the Hair
Divide the hair into manageable sections using hair clips. Start by creating sections at the crown, sides, and back of your head. This will make it easier to work through your hair and ensure that every strand gets the attention it needs. Within each section, a good rule of thumb is that your subsections should be no wider than the barrel of the brush you are using.
Step 5: Begin Blow Drying
Attach the concentrator nozzle to your hairdryer for targeted airflow. Starting from the nape of your neck, take a section of hair and place your round brush underneath it. Hold the hairdryer above the brush, directing the airflow downwards along the hair shaft to smooth the cuticle and add volume. As you dry each section, make sure to roll the brush under and/or away from your face to create a gentle curl at the ends.
Step 6: Create Lift and Volume
To create lift at the roots, use your round brush to lift your hair upwards as you blow dry. This will encourage volume and bounce at the crown area. Work your way through each section, repeating the process until your hair is almost dry.
Step 7: Set the Style & Final Touches
Once the hair in each section is mostly dry, it's time to focus on setting the style. Use the cool shot setting on your hairdryer to blast each section with cool air. This helps to set the hair and lock in the volume and shape you've created using mousse along with your technique.
If you desire more defined curls, you can wrap sections of hair around the brush and give them a quick blast of warm air before using the cool shot setting. Once your hair is completely dry and set, gently run your fingers through your hair to loosen the curls and create that natural, bouncy look.
If you want extra hold and shine, you can mist your hair with your favorite hairspray. Be sure to hold the hairspray at arm's length to avoid making your hair stiff.
Voilà! You've successfully achieved a bouncy hair blowout using mousse. Admire your voluminous locks and embrace the confidence that comes with a professionally styled look.
Creating a bouncy hair blowout using mousse doesn't have to be reserved for the salon. With the right tools, products, and technique, you can achieve the same glamorous results in the comfort of your own home. By following these step-by-step instructions, you'll be well on your way to enjoying a fabulous hair day with voluminous, bouncy locks that turn heads wherever you go. Check out the video below and see a bouncy blowout in action!


