Step by Step: How to Create a Low, French Twist Ponytail

By: Kenra Professional
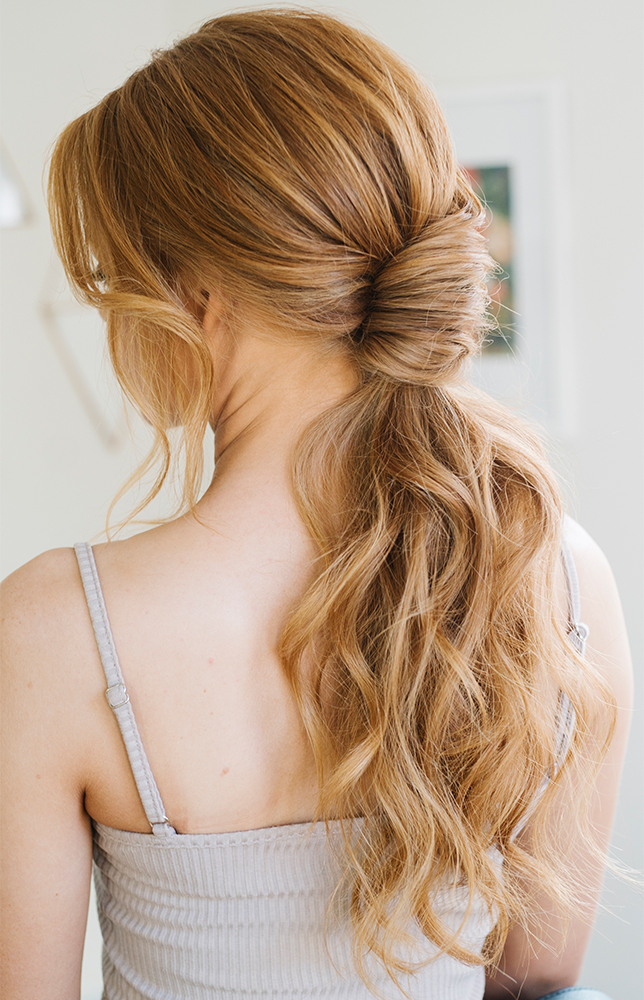
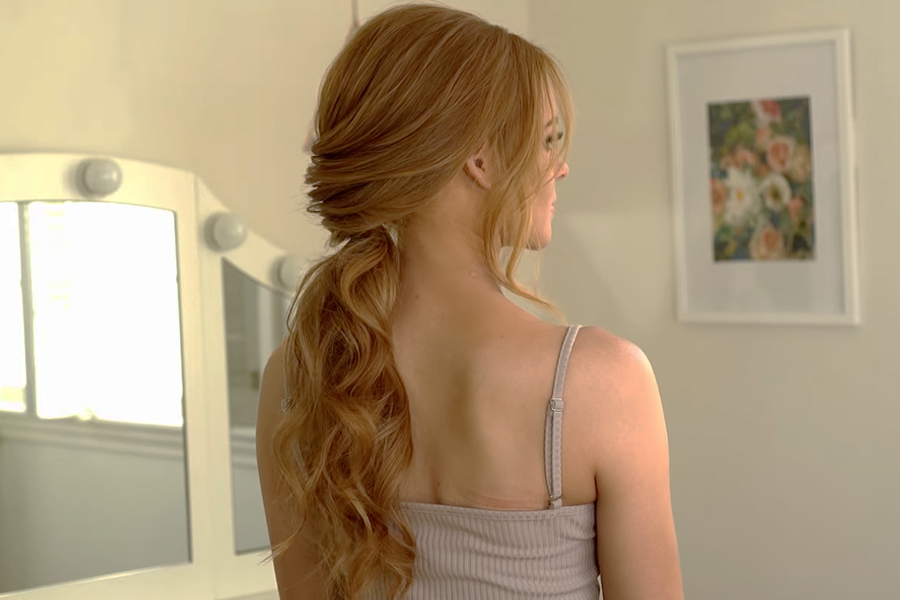
Weddings, galas, and events are back in full force! One staple style that can be relied on in pinch, and can work for almost any formal occasion is a low, twisted pony. It adds just enough softness and elegance without being a full updo style and manages to be both classy and modern! Stephanie Brinkerhoff shows us how to create the look below.
Step 1: Prep Hair with Necessary Products to Build the Style
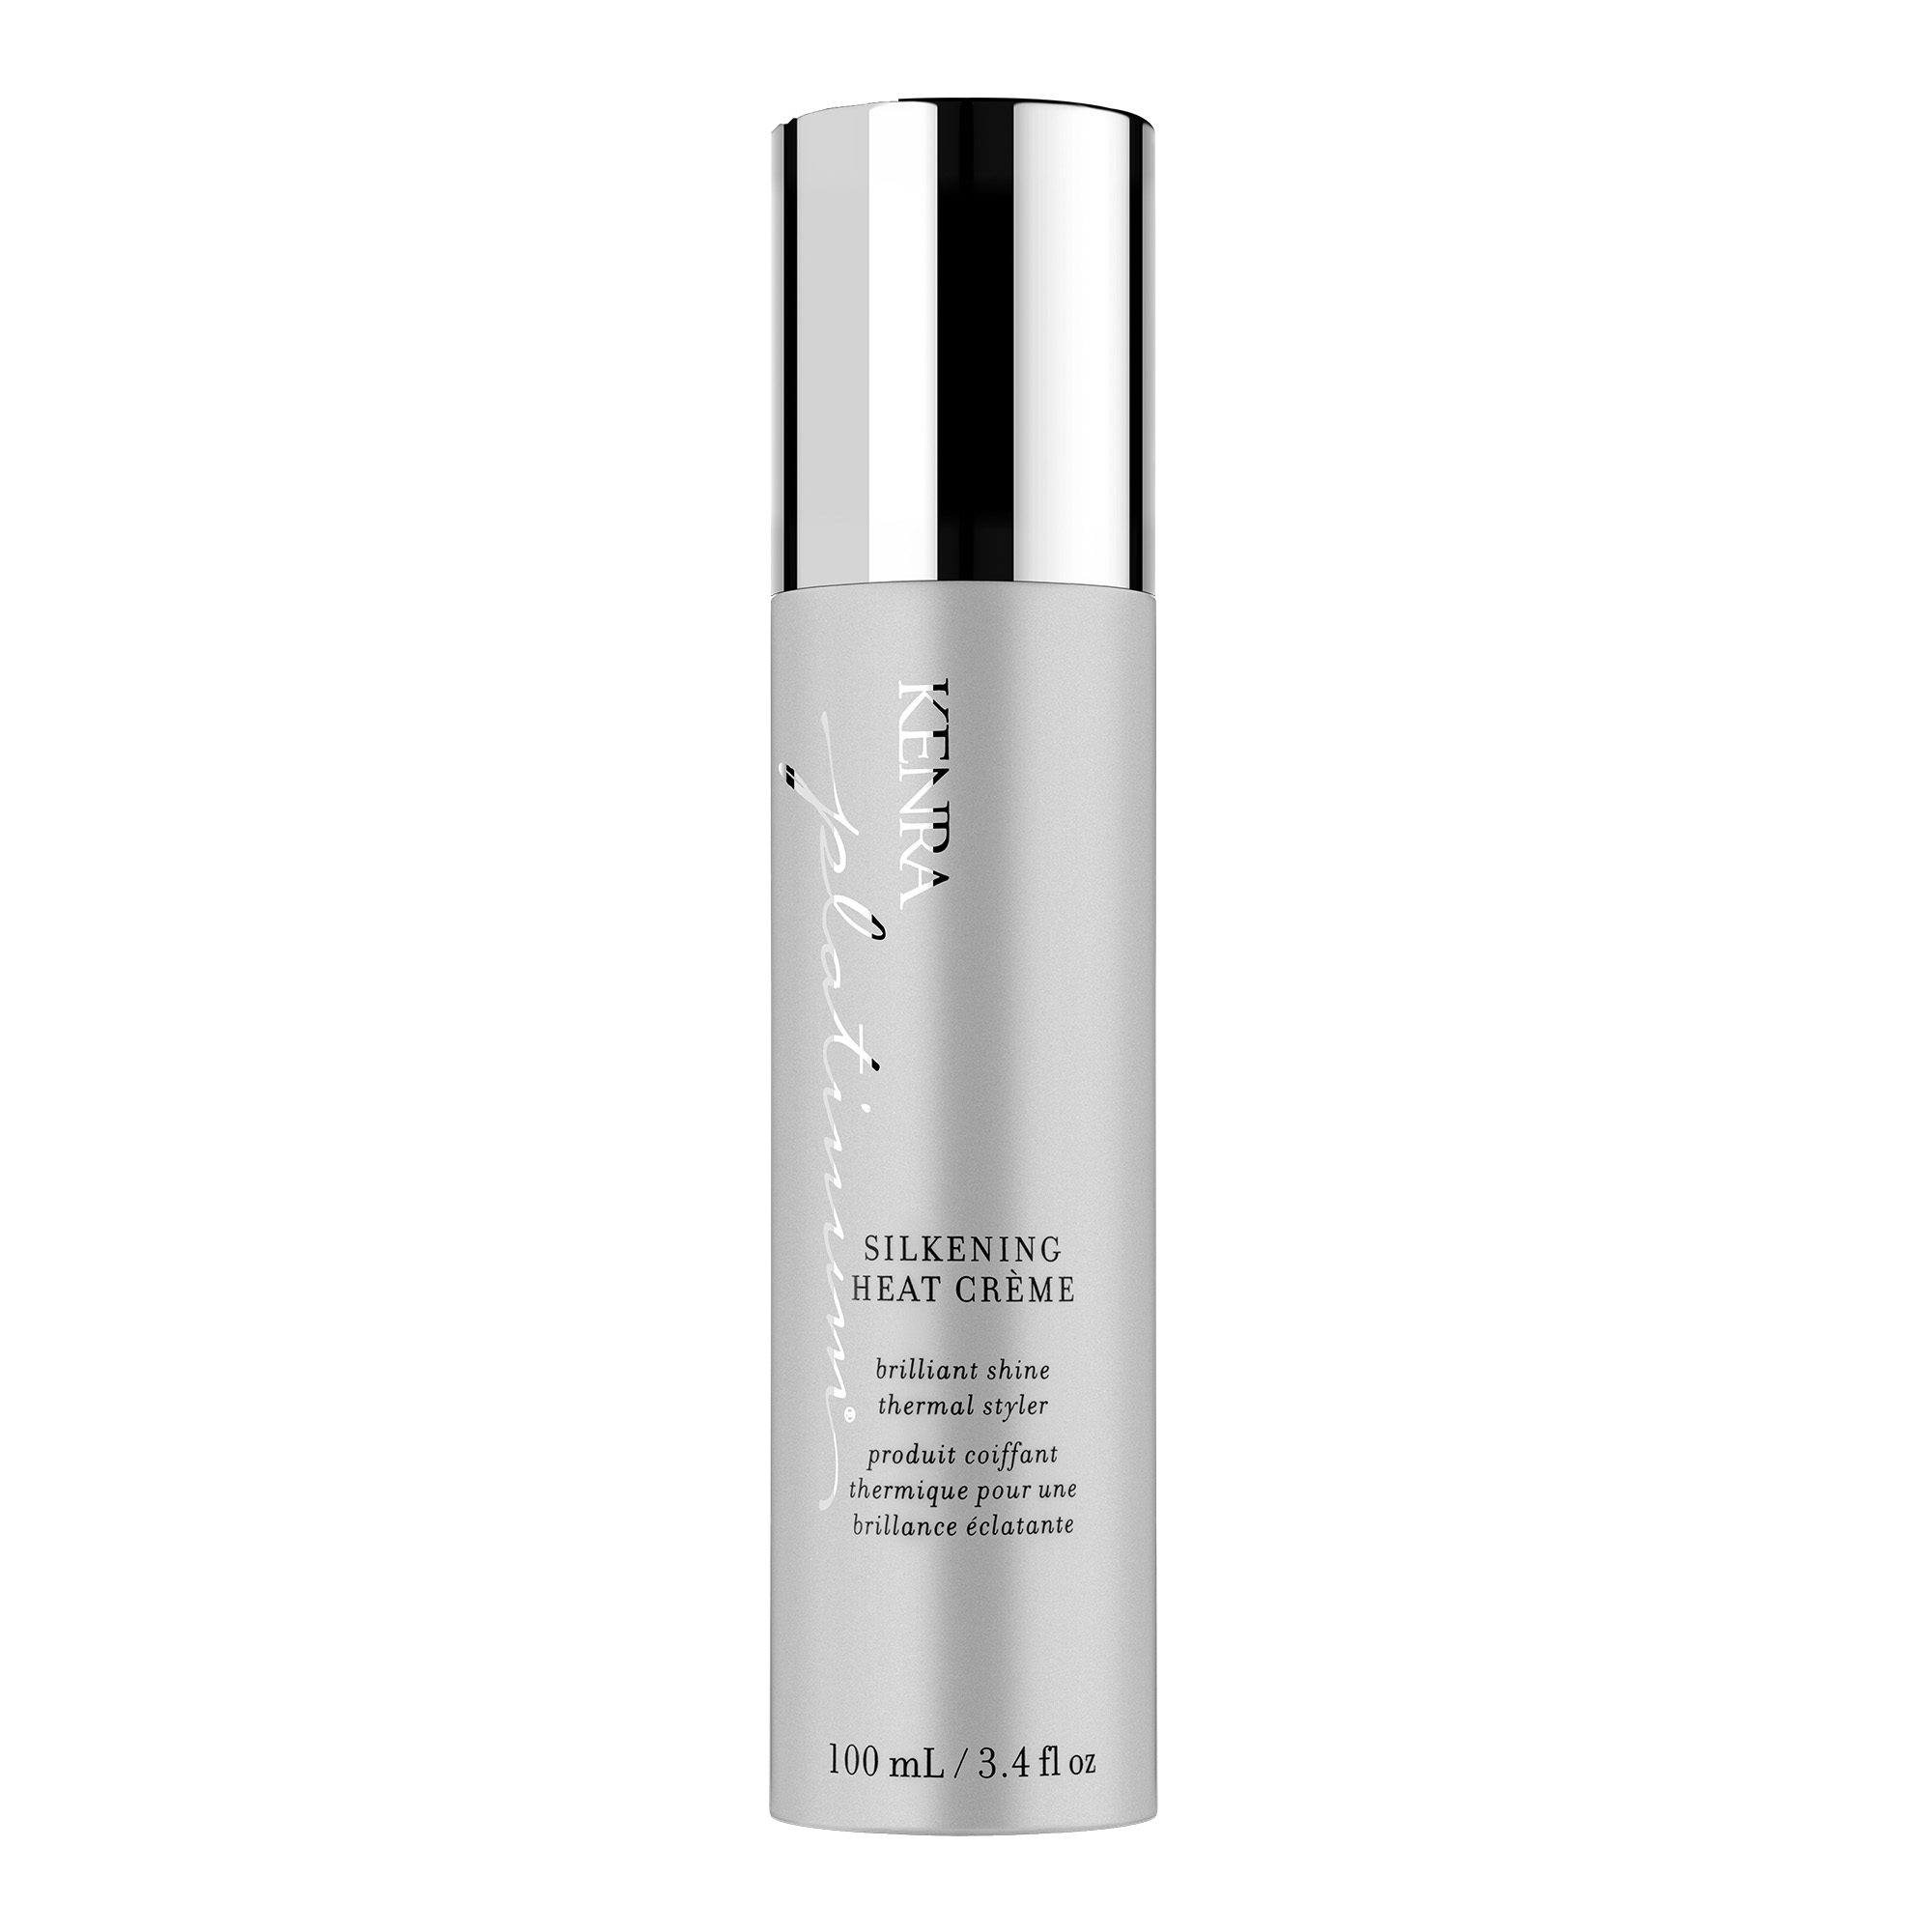
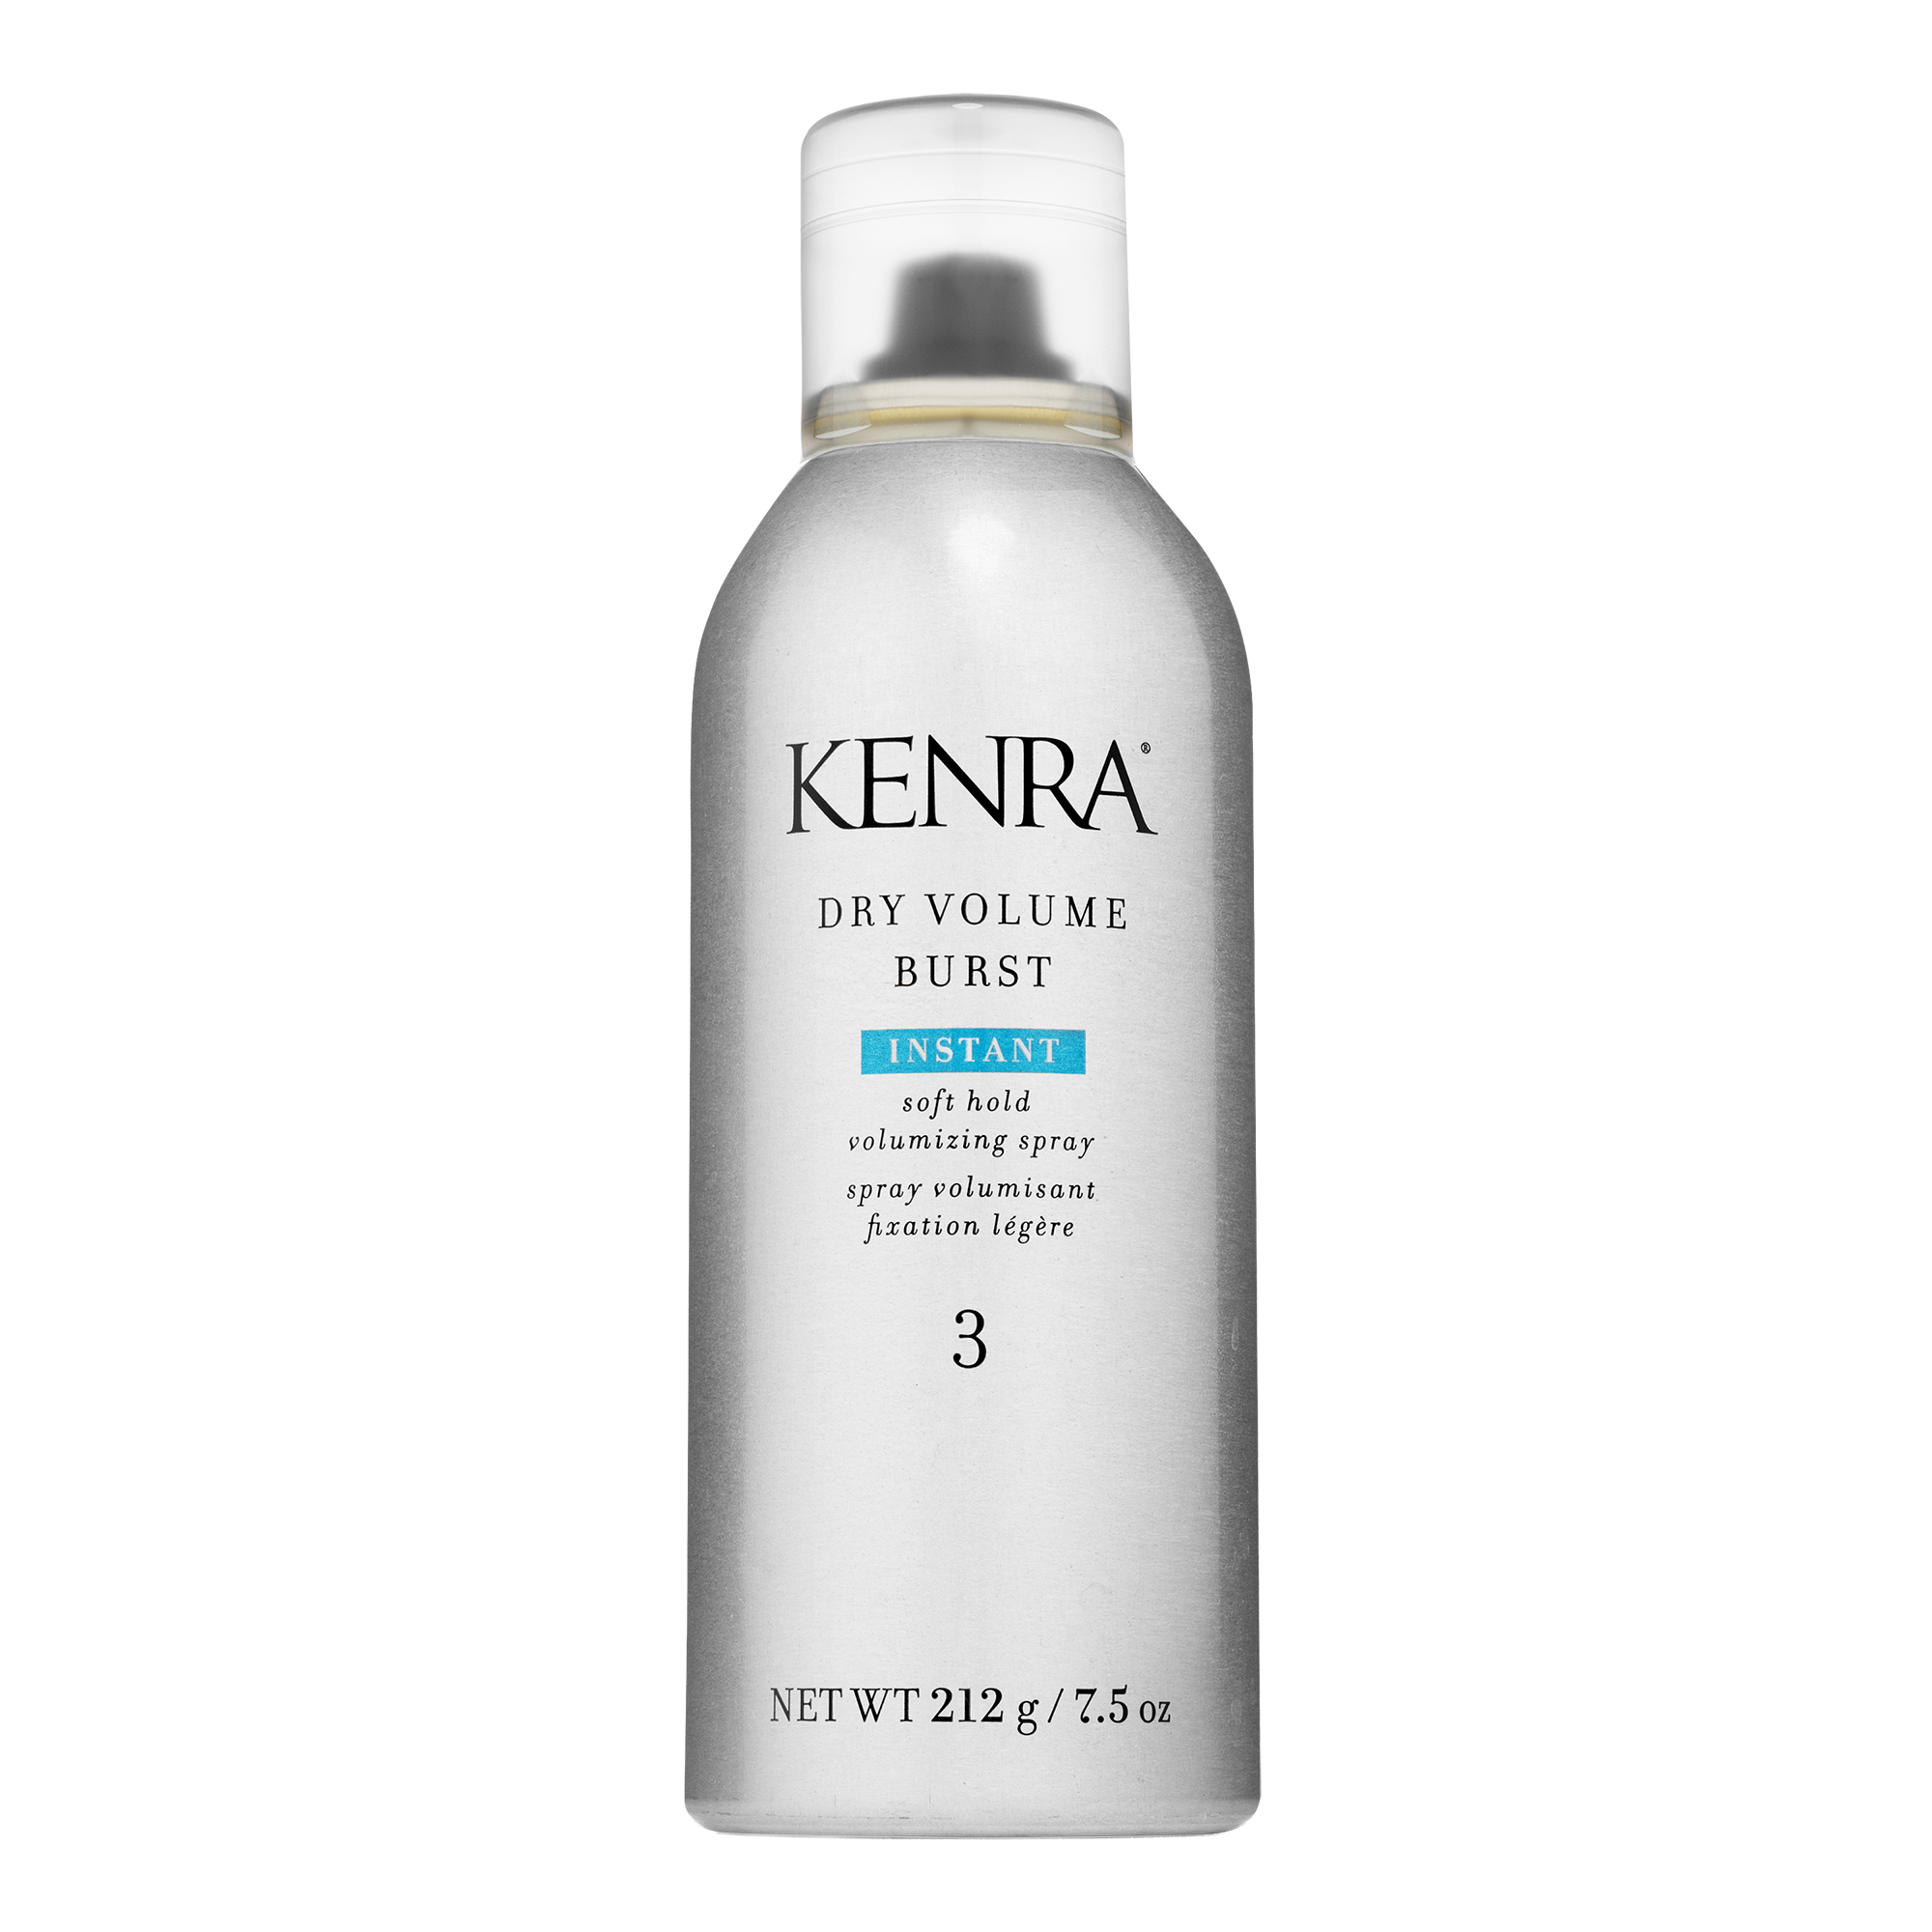
In the demonstration below, Stephanie uses Silkening Heat Crème to add moisture and smoothness to the hair while also providing thermal protection. She then uses Dry Volume Burst 3 at the roots, starting at the crown and moving back in subsections to create instant volume with a small amount of grit.
Step 2: Prep Hair for Curling
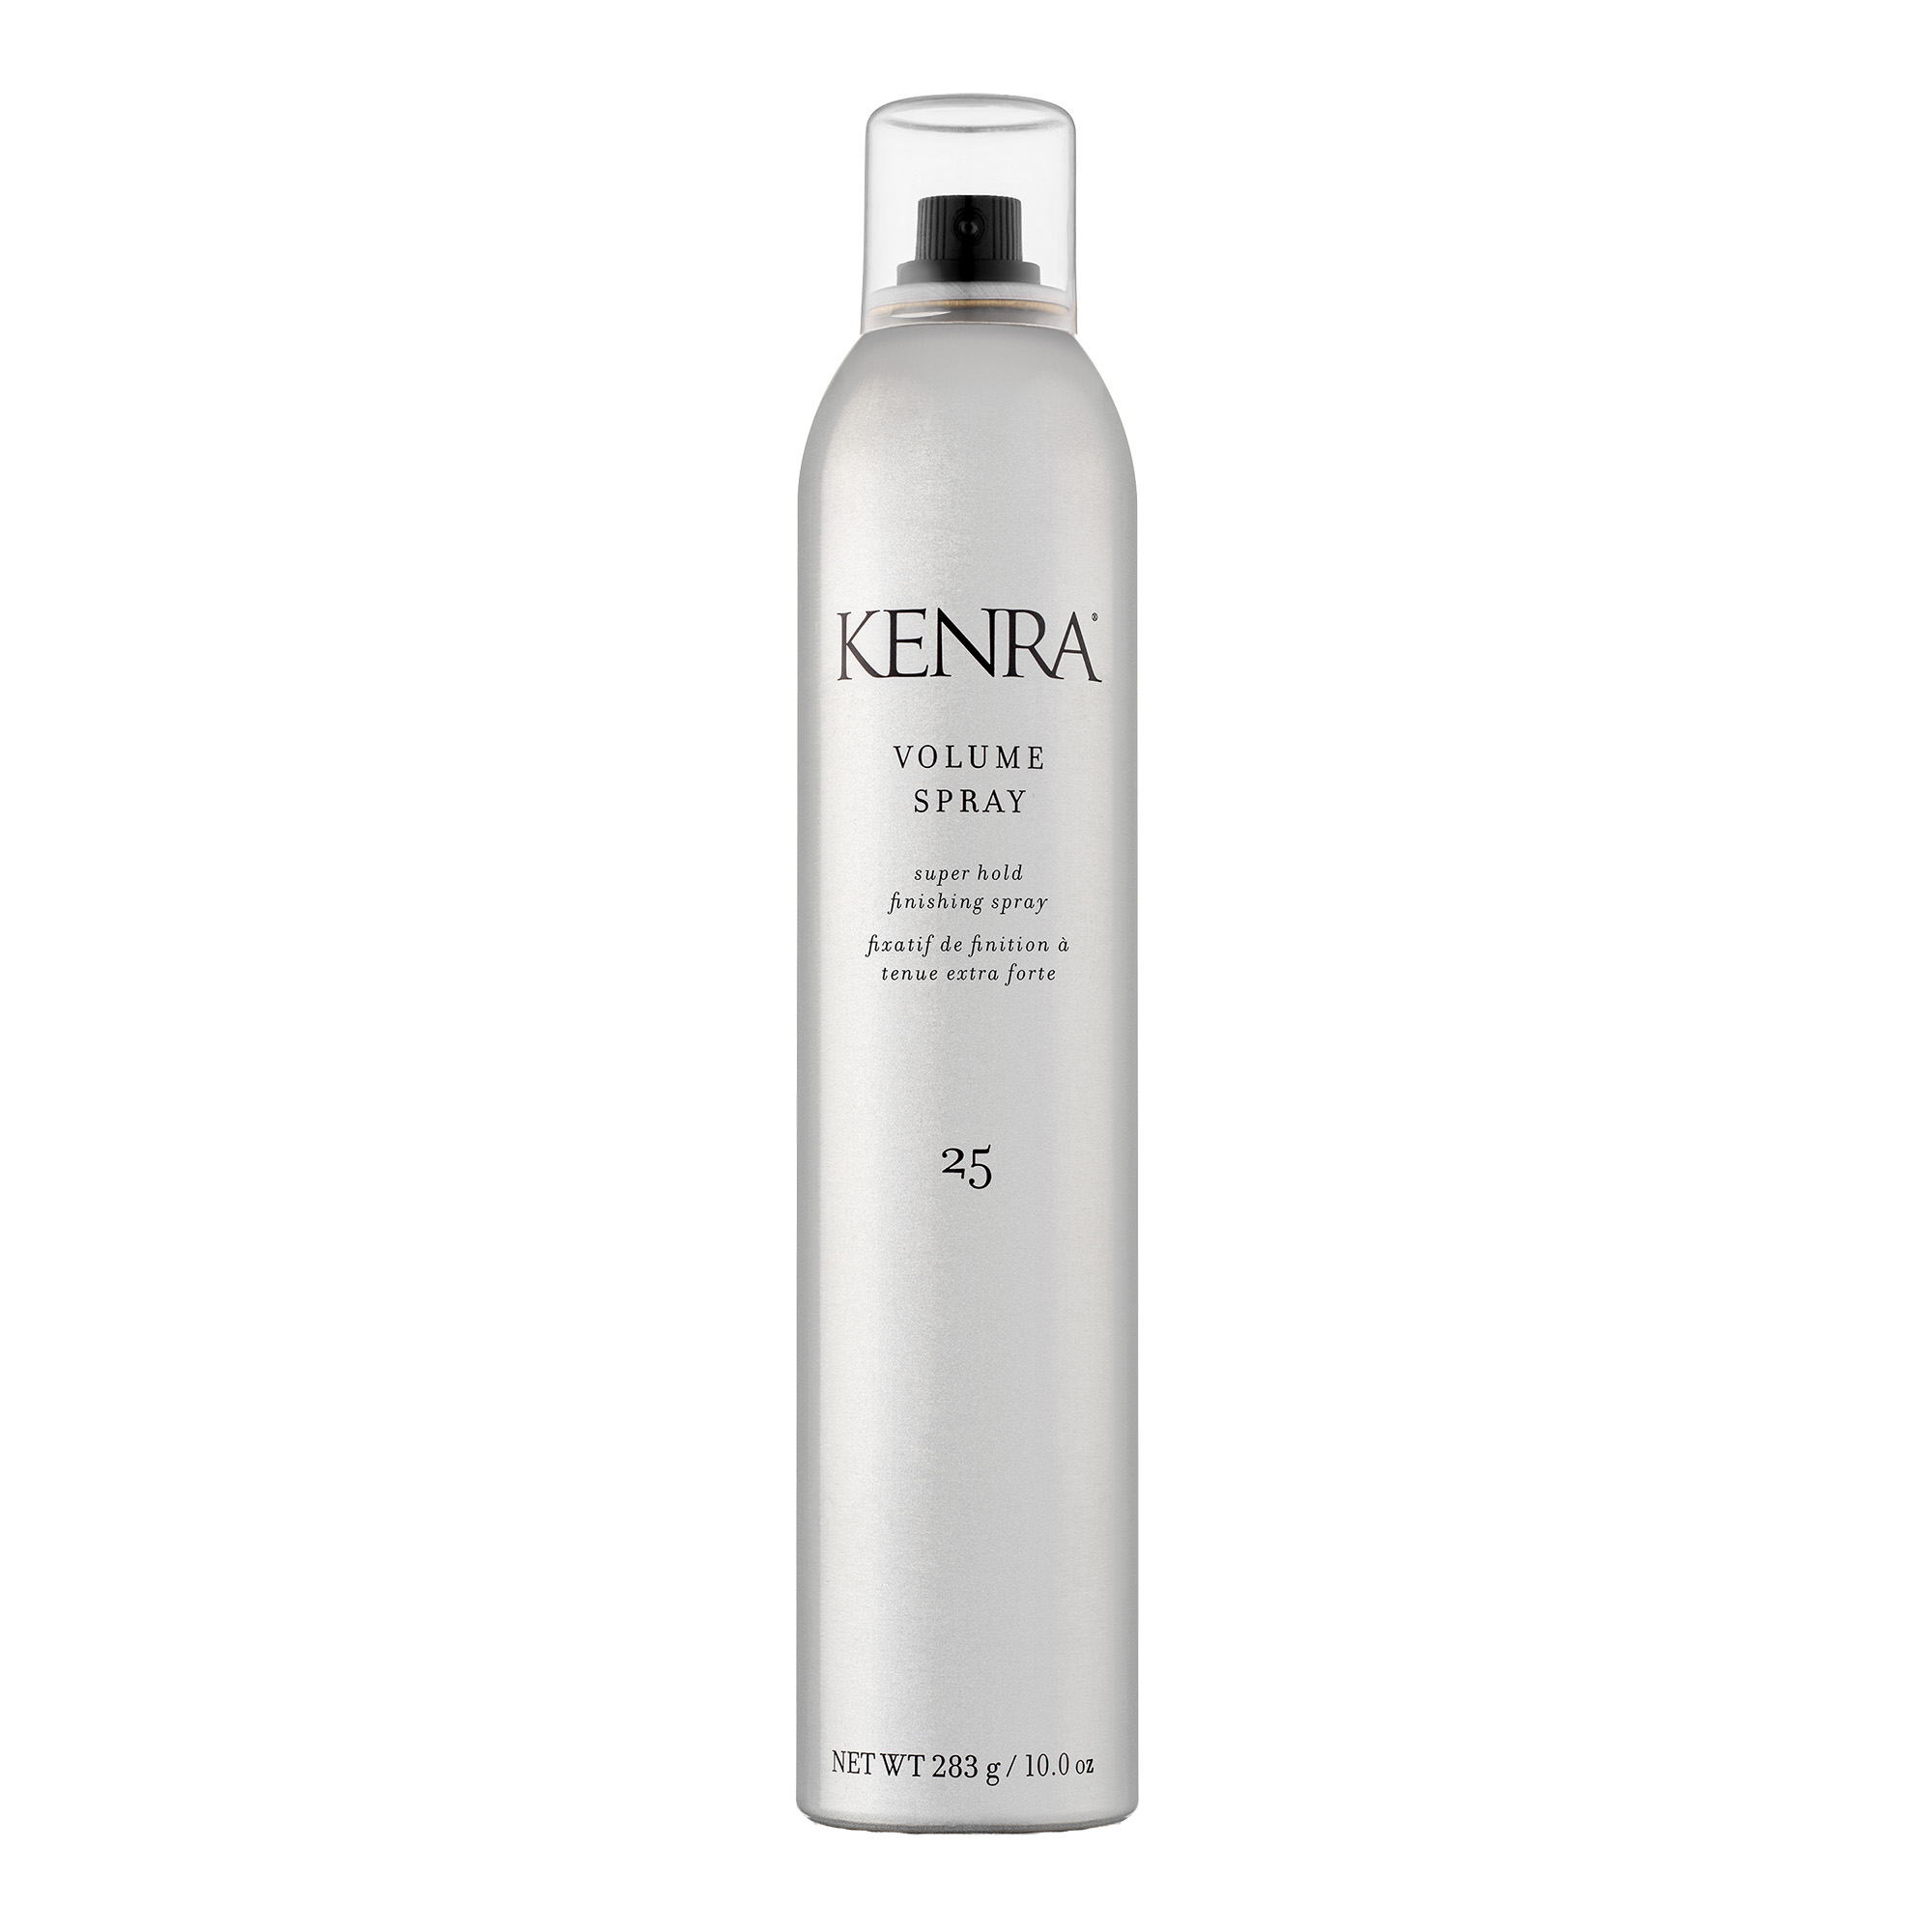
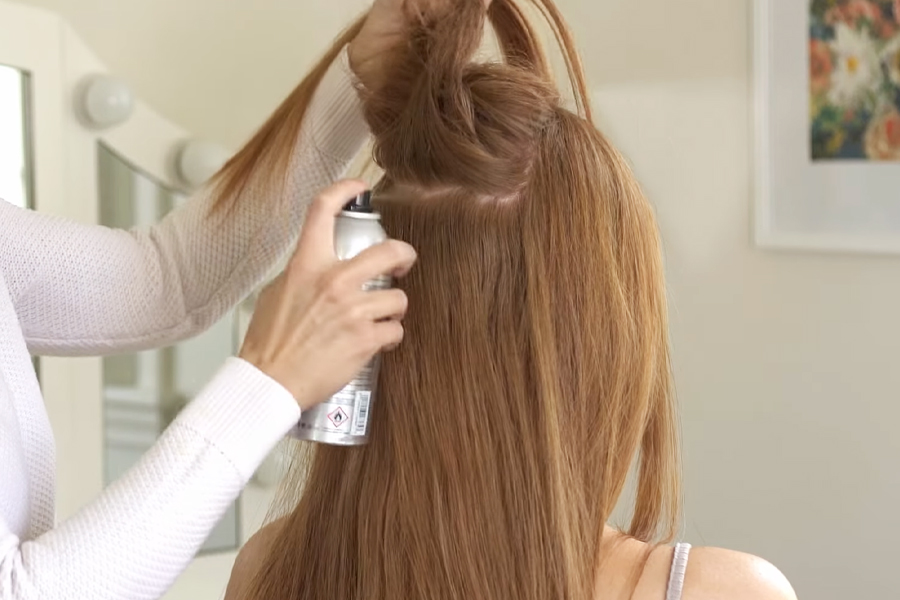
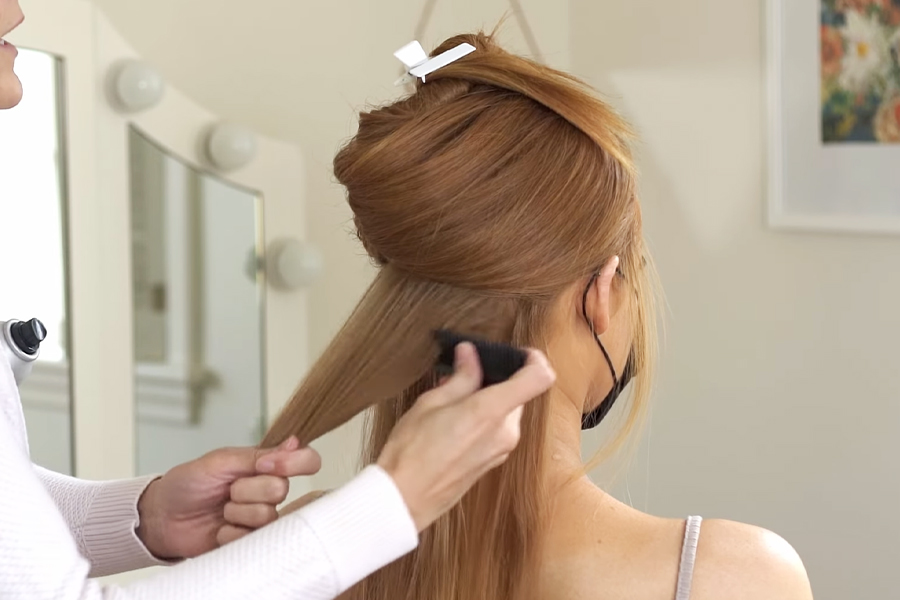
Divide the hair into 4 or 5 large horizontal sections and do some backcombing in each section in the back to provide the appearance of thicker hair near the roots. The majority of the backcombing should be focused on the hair at the occipital or lower, because that’s where the majority of pins will be placed for holding the style. After backcombing, use a small amount of Volume Spray 25 to lock it in place.
Step 3: Curl the Hair
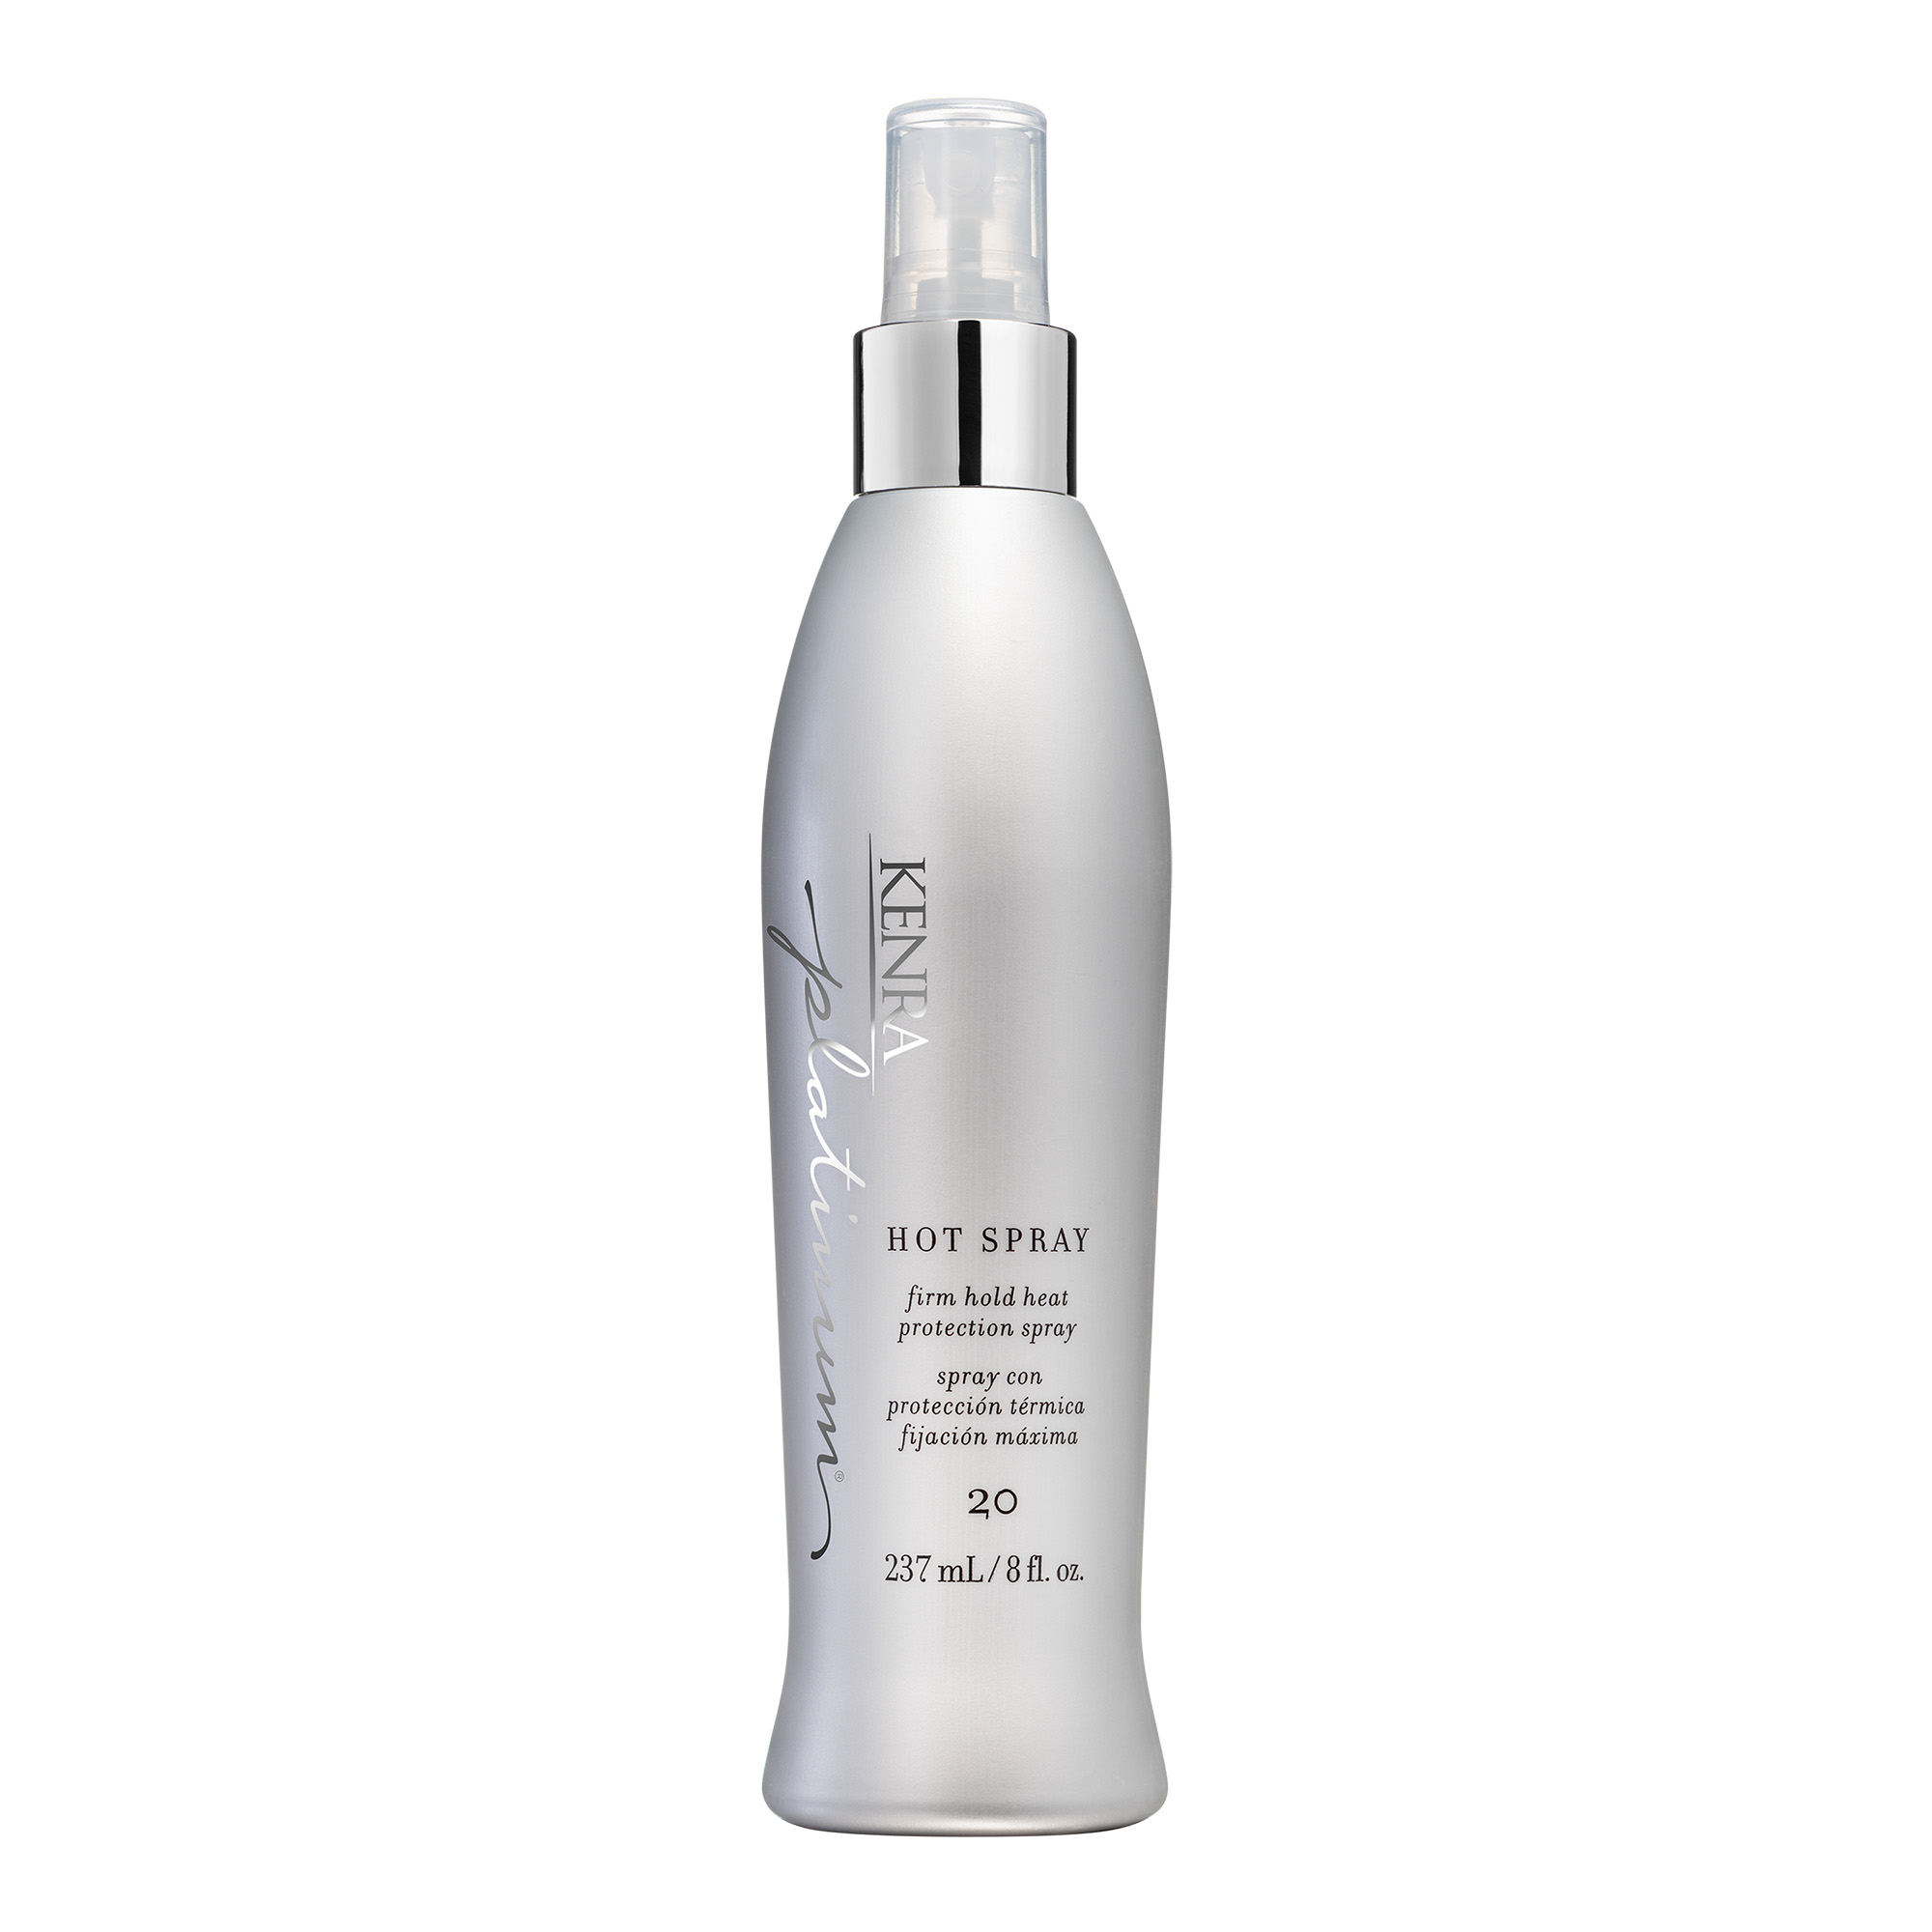
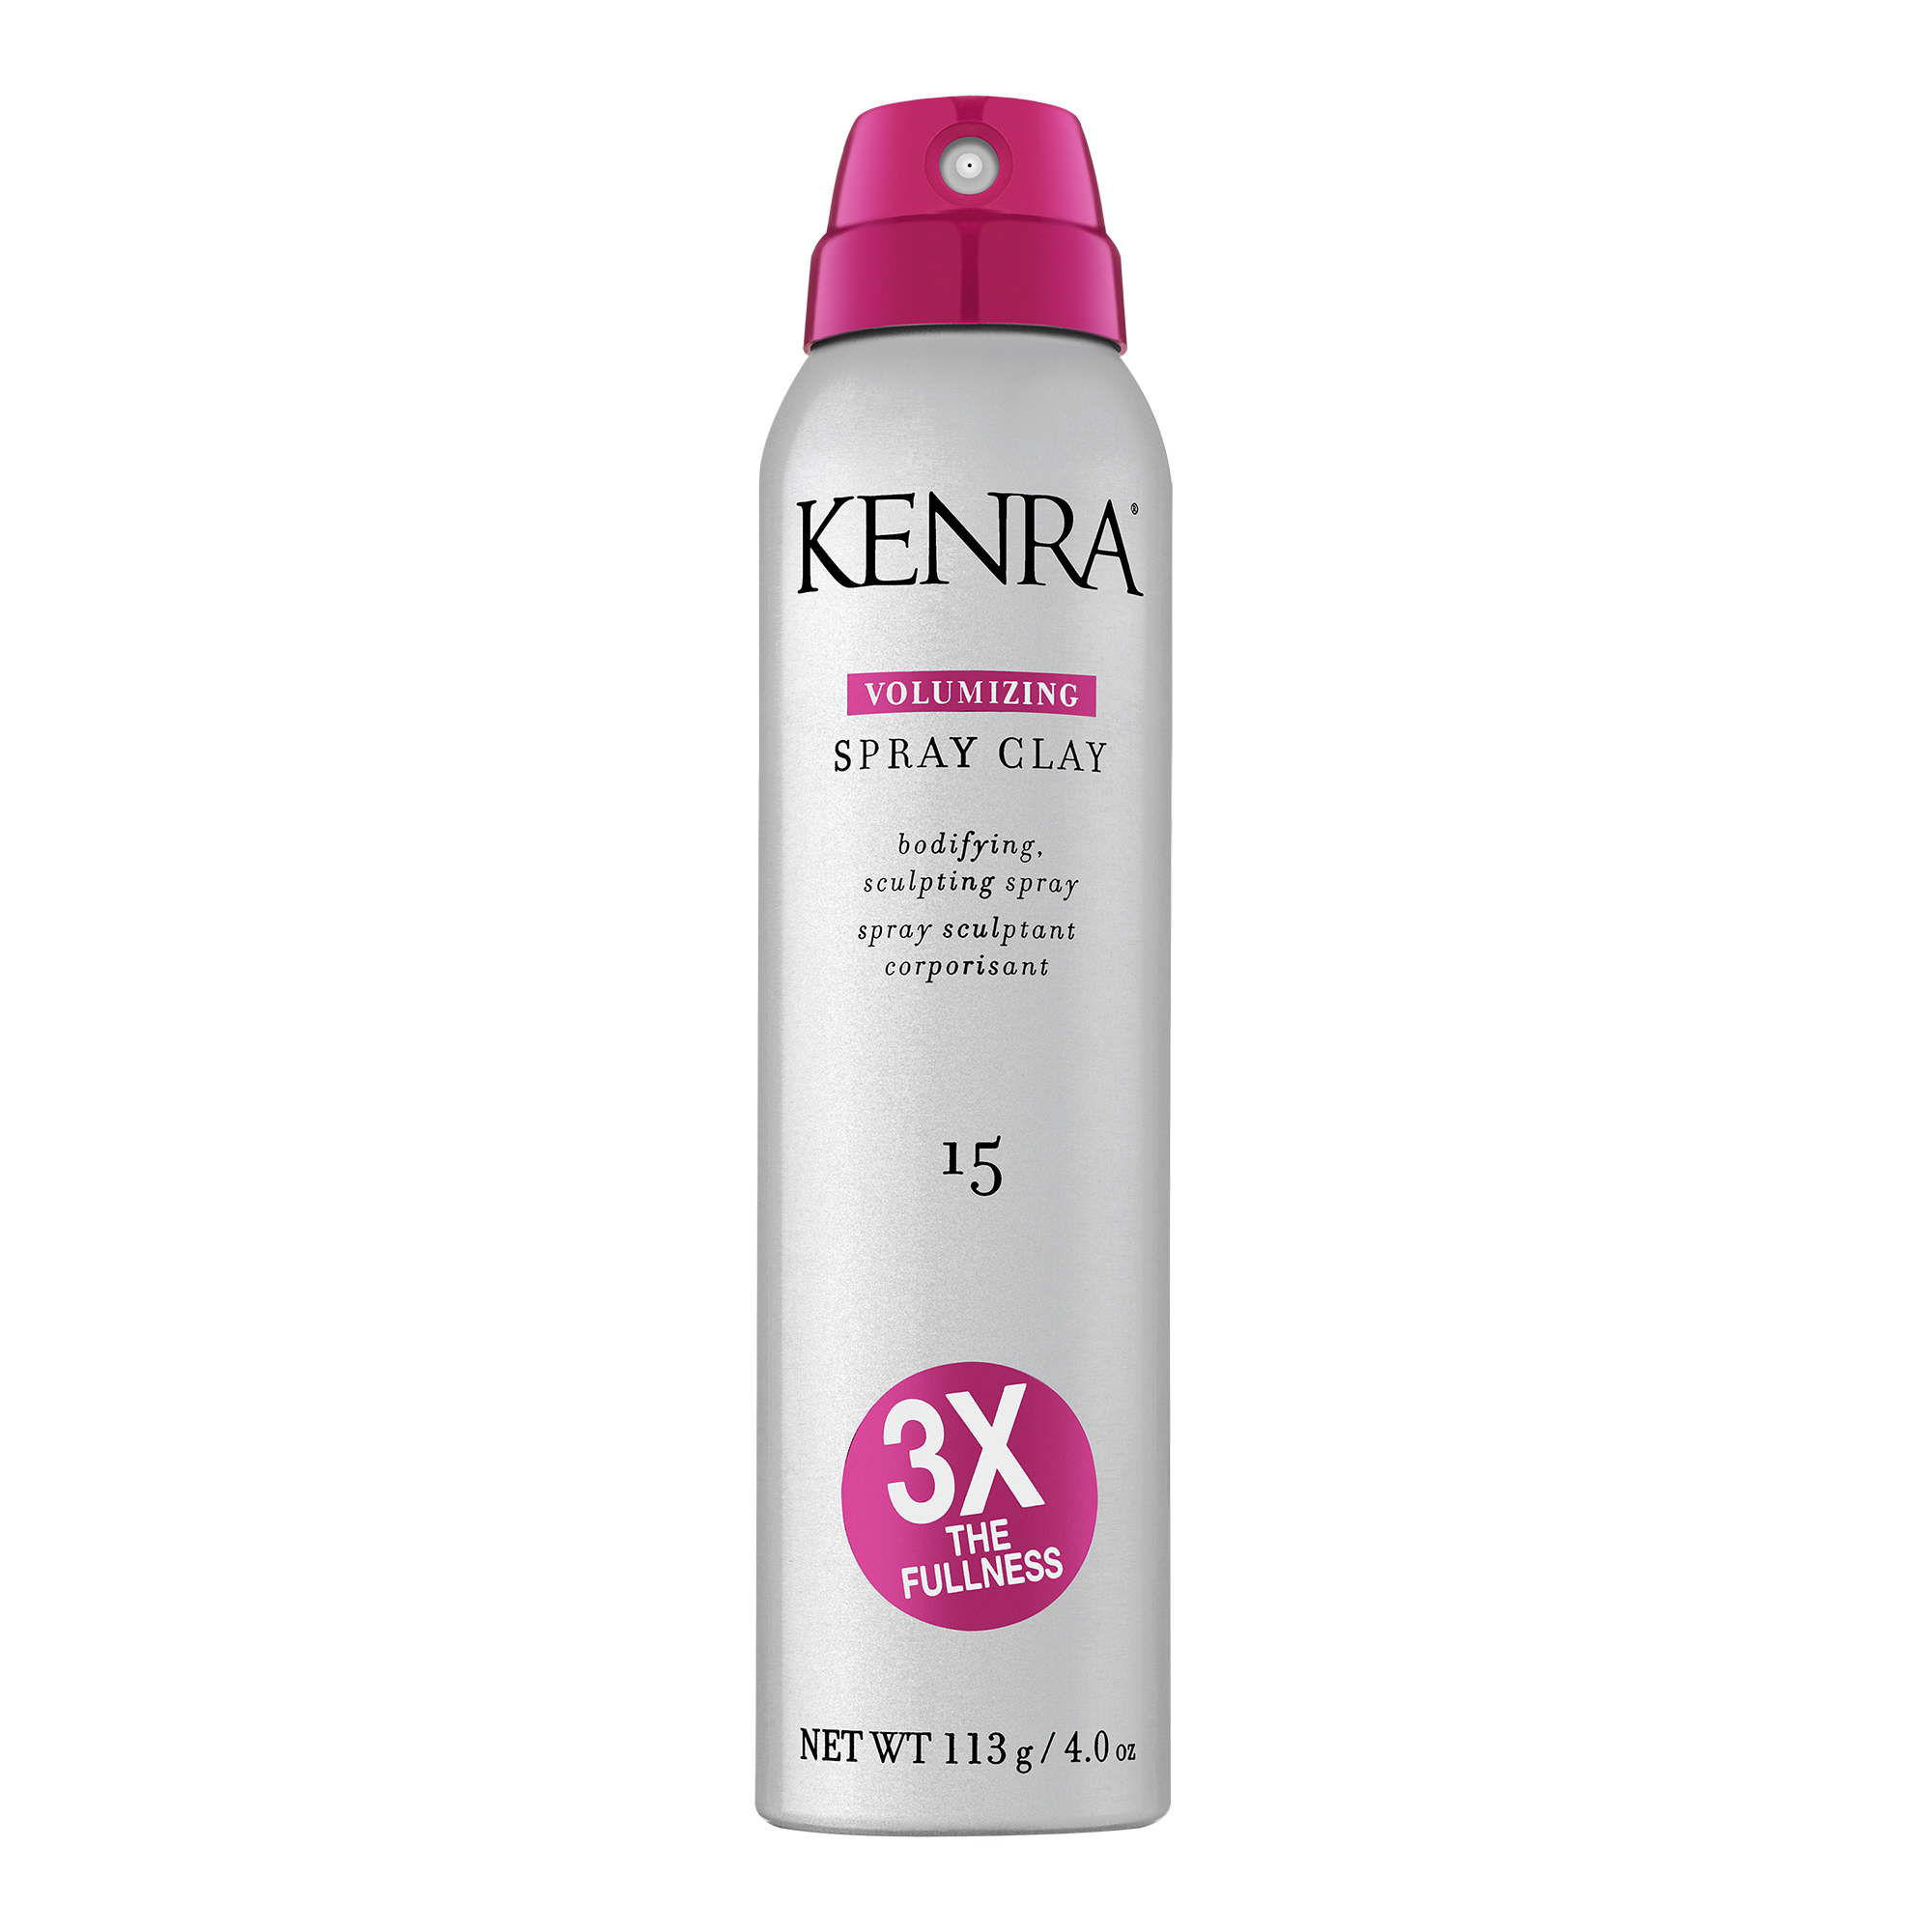
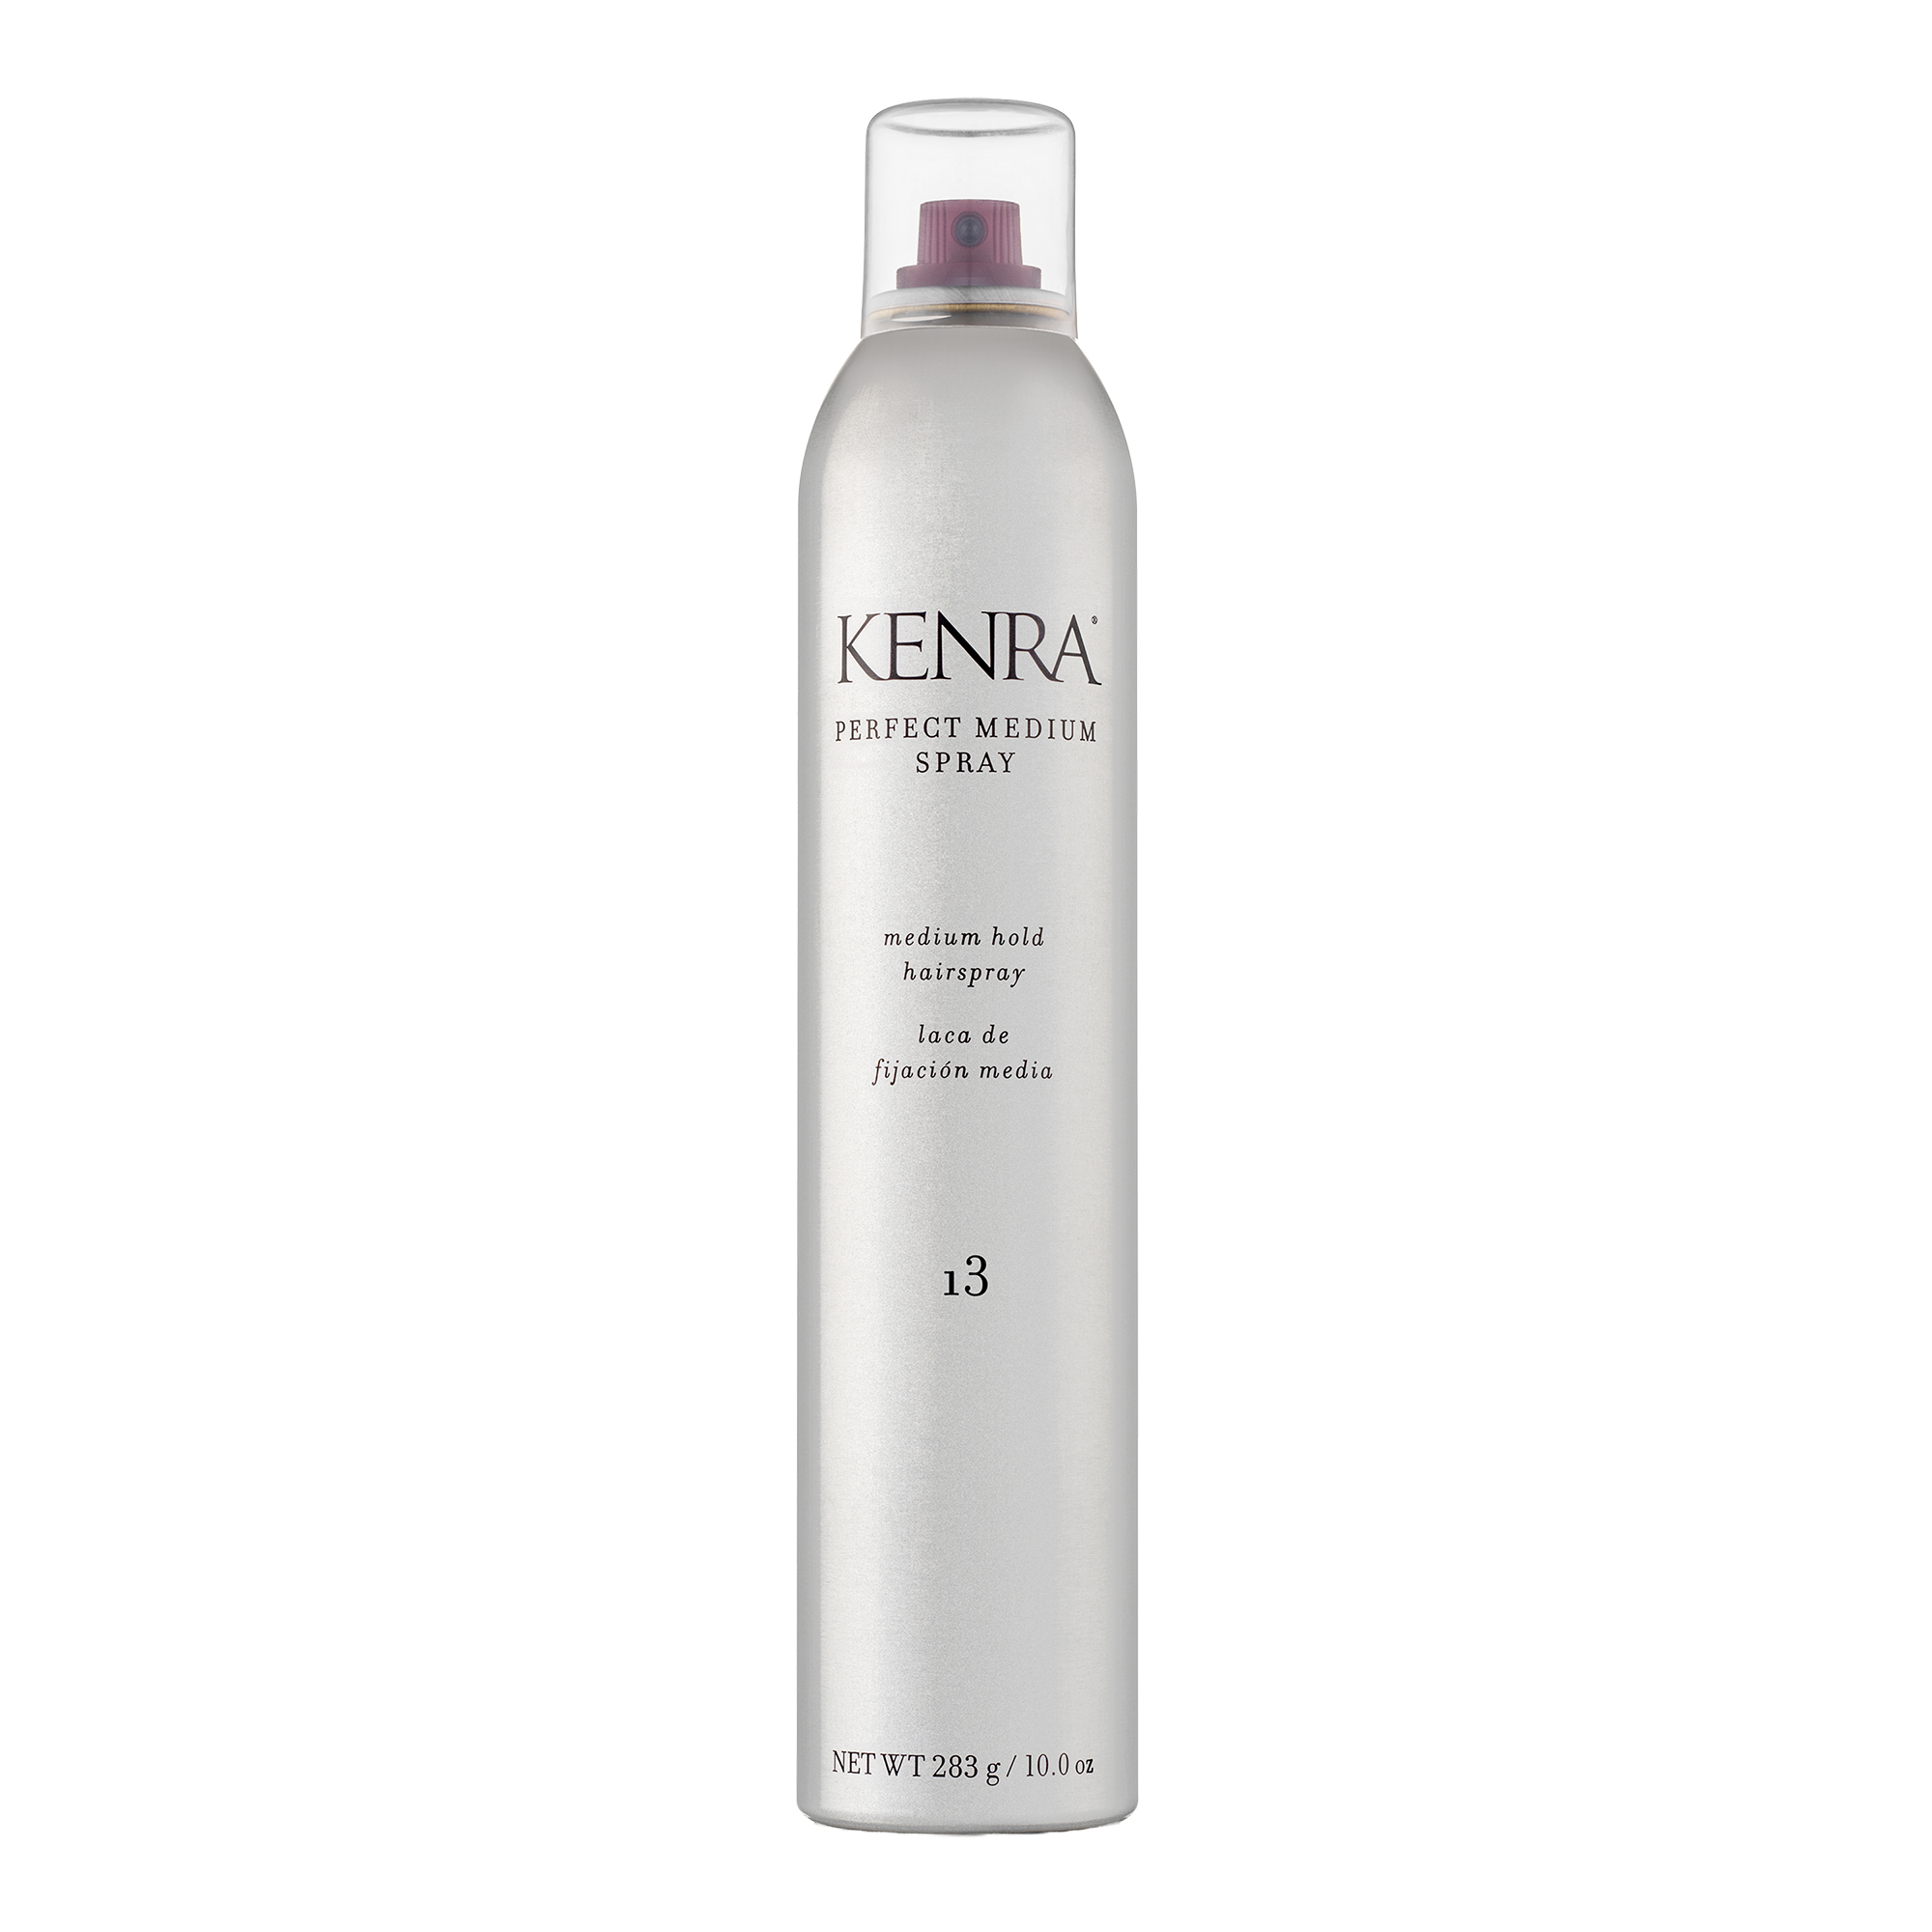
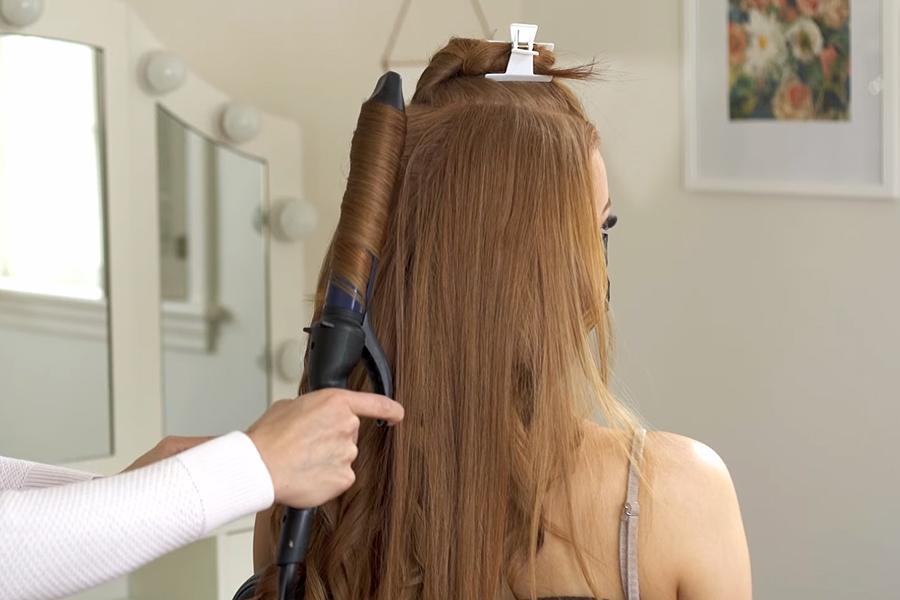
Using the same sections that were created before, start at the nape and use a 1 ½” iron to curl the hair vertically in alternating directions, allowing the loose curls to separate and not get unintentionally blended together. It also helps the style stay nice and voluminous. If the hair needs a bit of support in staying curled, use Kenra Platinum Hot Spray 20 on the mids and ends before curling to provide additional hold. Continue working up the head—backcombing, locking, and curling until the head is complete. In the crown section, curls should typically be done away from the face, and the curl itself should start further down the strands so that the crown is relatively smooth for the pony. Once the curls are complete, add more texture and grit to the hair using Kenra Volumizing Spray Clay 15, concentrating mainly around the crown, closer to the roots. Work the product in using your fingers. For additional support, separation, and reduced frizz, apply Kenra Perfect Medium Spray 13 as well to the overall style.
Step 4: Begin the Style
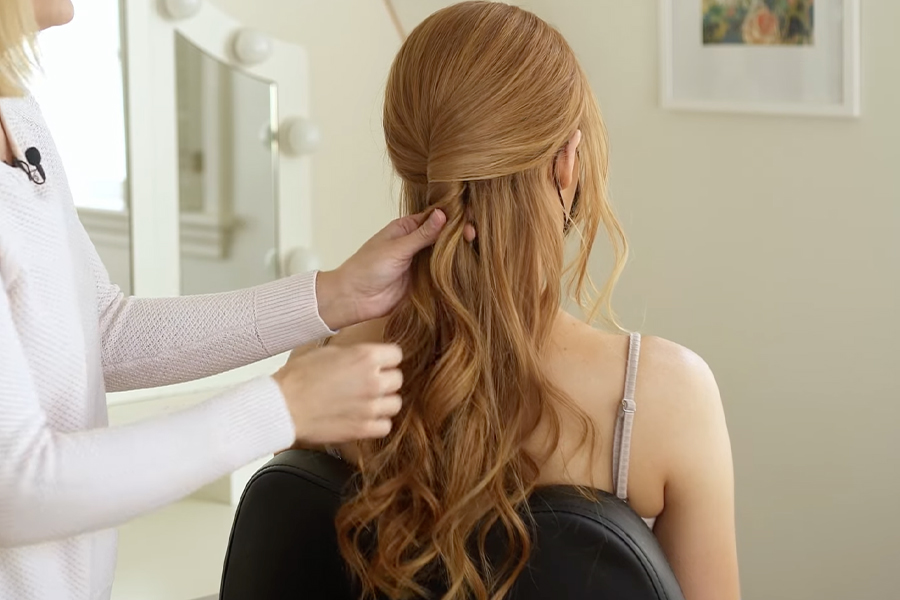
Using a comb or paddle brush, gently smooth out any areas that need it or have visible backcombing present. Begin the style by gathering all of the hair from the ears up and bringing it all to the center of the back. You can also choose to leave some of the hair around the face for custom framing and softness. Twist the gathered hair in the direction that you prefer a few times until the desired shape in the crown begins to take place. Detail and add volume by gently pulling pieces of the hair from the crown ever so slightly to achieve more height. Continue by deconstructing the twist itself. Once that is complete, incorporate the remaining hair into the twist, with the twist itself stopping at the nape or hairline. Secure the twist by placing bobby pins into the backcombing that was done in the nape are to help secure the style. All of the other hair will fall naturally as the curled ponytail. For added security, you can go in with an elastic, going as close to the scalp as you can, and secure the ponytail hair, making sure the elastic is hidden almost inside the twist.
Step 5: Finish the Look
The hard part is over! Finalize the look by combing out any frizz that may be present in the pony, and once you have detailed everything and the hair looks like you want it, set the hair in place with Volume Spray 25 for an elegant yet playful look that will be sure to turn heads wherever you go.
Watch Stephanie Brinkerhoff create this timeless style below!

