A Beginner's Guide to Curling Your Hair With a Flat Iron

By: Kenra Professional
Who doesn’t love a glamorous head of curls? Whether you are going for beachy waves, tight bouncy curls, or soft, elegant Hollywood curls, you can use your flat iron. No, flat irons aren’t just for straightening hair. In fact, they are a fantastic tool for achieving organic, voluminous curls. You just need to learn the proper styling technique.
Lucky for you, Kenra Professional doesn’t just make salon-quality products. We also have a ton of educational resources so that you can empower yourself with the confidence and knowledge of a professional hairstylist. So, whether you are an at-home beauty guru or a professional stylist, we’ve got your back with a plethora of resources to take your hair care routine to the next level.
Today, we’ll walk you through every step of curling your hair with a flat iron. We’ll cover everything from prepping with a product to heat styling techniques and finishing touches. By the end of this article, you will be fully prepared to take your flat iron from a one-function heat styling tool to a multi-use hairstyling essential.
Pick the Style You Are Trying To Achieve
Before you begin, you will need to gather some style inspiration. Different curls require slightly different techniques. Find a picture of the style you are trying to achieve so that you know which technique to use and can reference it during styling.
Your flat iron can do it all. So, what will it be? Loose, romantic curls with a shiny red carpet finish, playful, bouncy curls, or laid-back beachy waves? It’s totally up to you.
Choosing the Right Flat Iron for You
If you don’t already own a flat iron, you want to look for one with adjustable heat that can give you the level of performance you are looking for. If you are a total beginner, then you may not want to drop crazy cash on a fancy piece of equipment — but be warned! If a flat iron is too cheap and poorly made, it can cause hair damage down the line. Also, cheaper flat irons don’t typically last as long.
One thing you will need to know about flat irons is that they are made with different types of plates—titanium and ceramic.
Pros and Cons:
Titanium : heats up quickly and evenly but can be pricier
Ceramic: more affordable and works on all hair types but wears over time
The final thing to consider is the shape and width of the flat iron. Ideally, you want to buy a flat iron that has a smaller width but rounded edges. This will serve you well for both straightening and curling.
Prep Your Products and Tools
Once you have a proper flat iron, you are ready to begin the curling process. Begin by gathering all of the tools you need and setting up in front of a well-lit mirror with enough space to move your arms around without clearing a bathroom shelf.
Here is what you will need:
- Heat protectant spray
- Hair clips or hair ties
- Brush
- Wide-tooth comb
- Hairspray
Prep Your Hair
Prepping your hair is an essential step of the process. If you don’t prep properly, you won’t get the salon-quality results you are looking for.
Start With Clean Dry Hair
Start out with clean, detangled hair that is completely dry. If your hair feels cold to the touch, it is not fully dry yet. Using heat styling tools on wet hair can burn your hair and leave you with a damaged mess.
It is also important that your hair is freshly clean. Using heat styling tools on hair with leftover products can also lead to heat damage. When it comes to keeping your hair shiny and healthy, preventative measures are key.
Heat Protection Spray
Speaking of avoiding hair damage at all costs, you should always prep your hair with a heat protectant spray. Flat irons and curling irons can reach temperatures of up to 450 degrees!
Heat protectant spray will put a barrier between your hair and the heat, allowing it to be styled without getting burned. Think of it this way; you wouldn’t take a hot pan out of the oven without putting on oven mitts first, right?
If you are in a rush and need to crank up the heat to reduce styling time, try our Silkening Heat Cr è me. This thermal styling crème will protect your hair up to 450°F and cut styling time in half. With just one product, you can curl faster, protect your hair, and get a long-lasting shine to give your hair the red carpet treatment.
Section Off Your Hair
Time to grab those hair clips or hair ties. Start by sectioning off your hair around the nape of your neck. You will want to start at the bottom and work your way to the top. You may need two to three sections, depending on how thick your hair is. Once you start curling, you will do one-inch sections at a time, so get the rest of your hair up and out of the way.
Time To Heat Things Up
Okay, time for the styling itself. Turn your flat iron on to your desired temperature. Next, grab the one-inch section you want to start with, clamp your flat iron at the root, and then pull in a downward motion. When you reach the point on the strand where you want your curl to begin, rotate the iron 180 degrees away from your face, then pull the straightener down the rest of the strand.
Where you want the curl to begin will depend on what style you are trying to achieve. For tighter curls, start the curl closer to the root and rotate the iron a full 360 degrees before pulling the iron horizontally away from your head until you reach the end of the strand. The more horizontally you pull the iron away from your head, the tighter your curls will be.
For loose, beachy curls, move the iron through your hair at a quicker speed. This will result in looser curls. For added volume, you can also curl some towards your face and some away to create texture. If you make a mistake, you can always straighten the strand and try again.
Finishing Touches
After you have curled all of your hair, you will need to finish off with some product to preserve all of your hard work and give your hair some extra shine. Begin by running your fingers gently through your curls, or use a wide-tooth comb to loosen up the curls.
Hair Spray
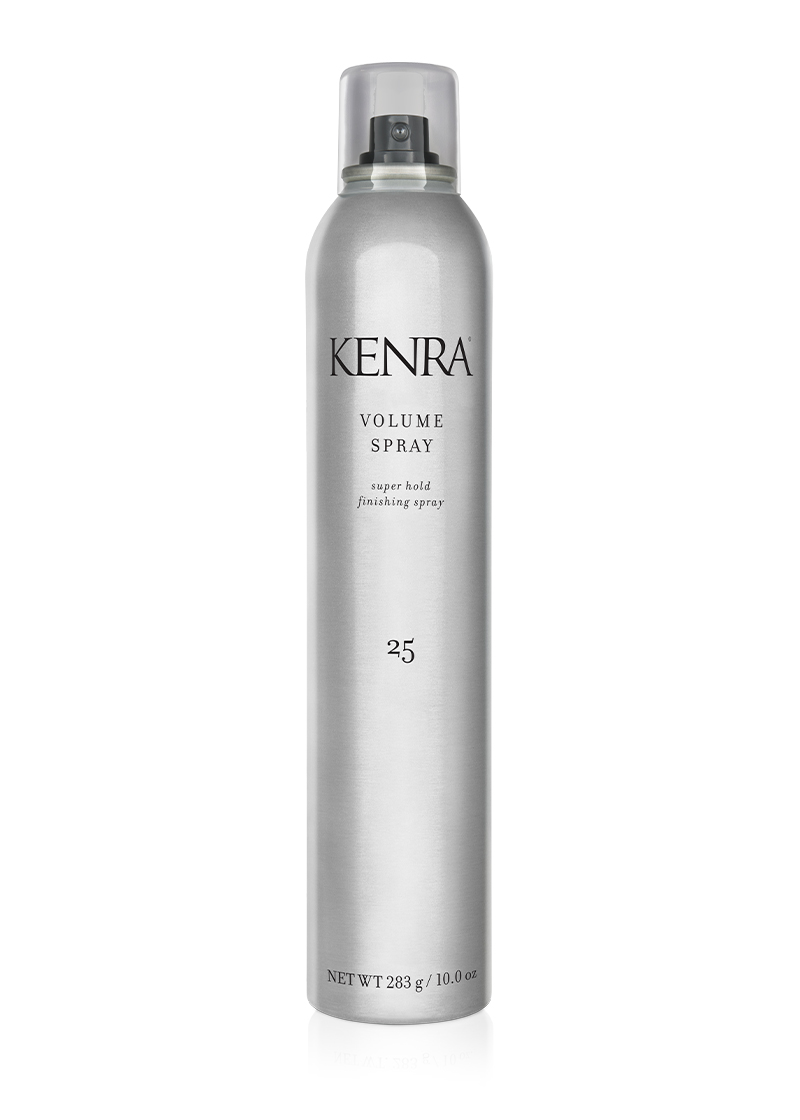
This is where it all comes together. Use hairspray to lock in your curls for all-day wear. Kenra’s Volume Spray 25 has been trusted by professional hairstylists for over 30 years to deliver salon-quality results time after time.
This iconic hairspray will provide you with the maximum possible hold without leaving your hair crunchy or stiff. With humidity resistance for up to 24 hours and wind resistance up to 25 miles per hour, Volume Spray 25 will preserve your gorgeous, soft curls in all types of weather.
Simply shake the can and then hold it eight to 10 inches away from your hair and spray in short bursts. To build volume at the roots, you can lift sections and spray underneath them at the root for added lift. This hairspray is the hairspray. If you want that shiny, voluminous “fresh from the salon” look, then this is the finishing product for you.
Dry Shampoo
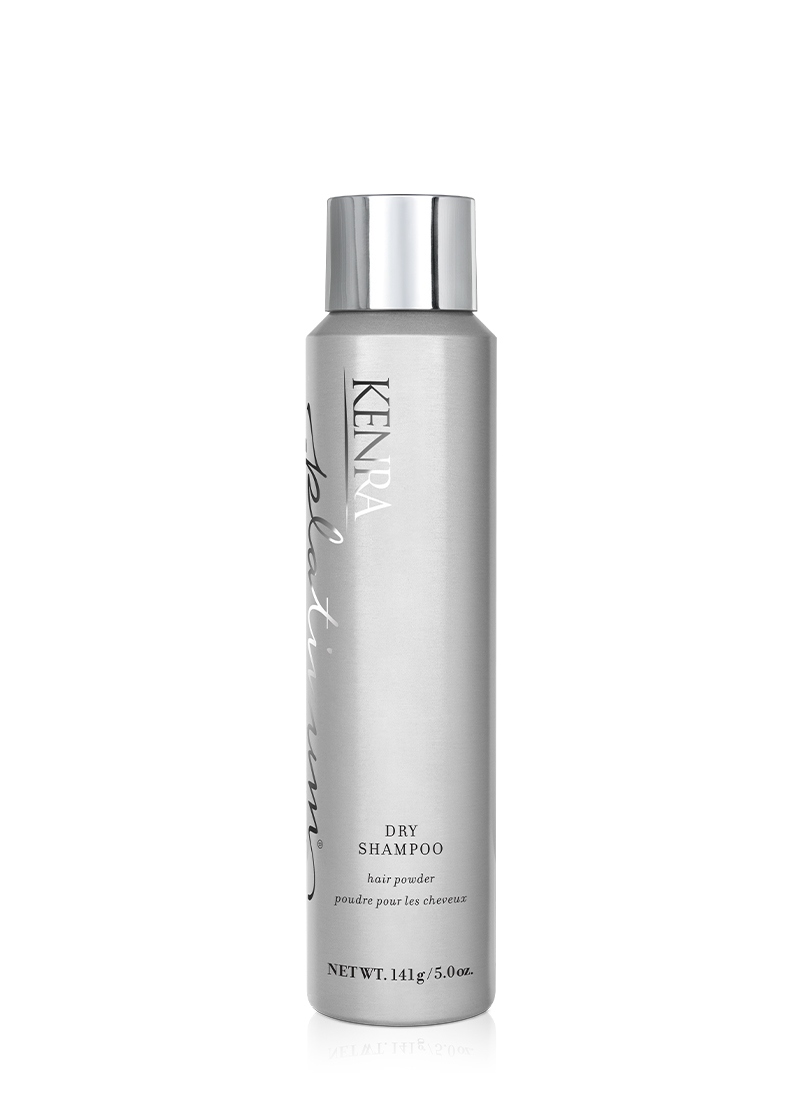
Pro Tip: Want to make your curls last a bit longer? Apply some Dry Shampoo to your roots before you go to bed and the next morning. Your curls will likely be a bit more relaxed the next day, but a little dry shampoo will freshen them up for gorgeous second-day hair.
Practice Makes Perfect
You might not get it perfect the first time, and that’s okay. With a little bit of practice, you will be a curl expert in no time. Plus, with this handy technique, you won’t have to pack a flat iron and curling iron next time you travel; you will have everything you need for gorgeous curls and sleek straight hair all in one handy tool.
You can always trust Kenra Professional for helpful tips and tricks on styling and salon-quality products that will deliver flawless results every single time. With our help, you’ll be a hairstyling genius in no time!
Sources:
How to Curl Your Hair with a Flat Iron | The Trend Spotter
How to Curl Hair with a Straightener, According to a Hairstylist | Byrdie
Heat-Damaged Hair: How to Repair It Without a Haircut | Healthline
Simple Secrets to Healthier, Fuller, Shinier Hair | Healthline
A Guide to Damaged Hair and 15 Ways to Fix It | Healthline


