How to Create High Point Balayage on Grown-Out Hair
By: Kenra Professional
November 2023
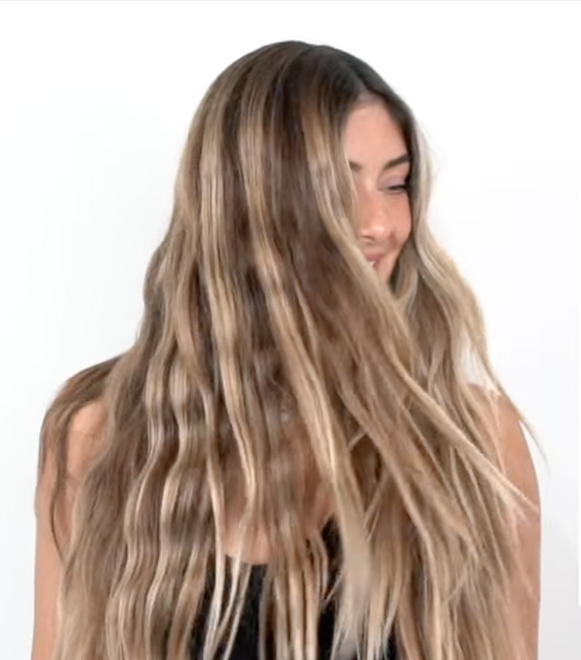
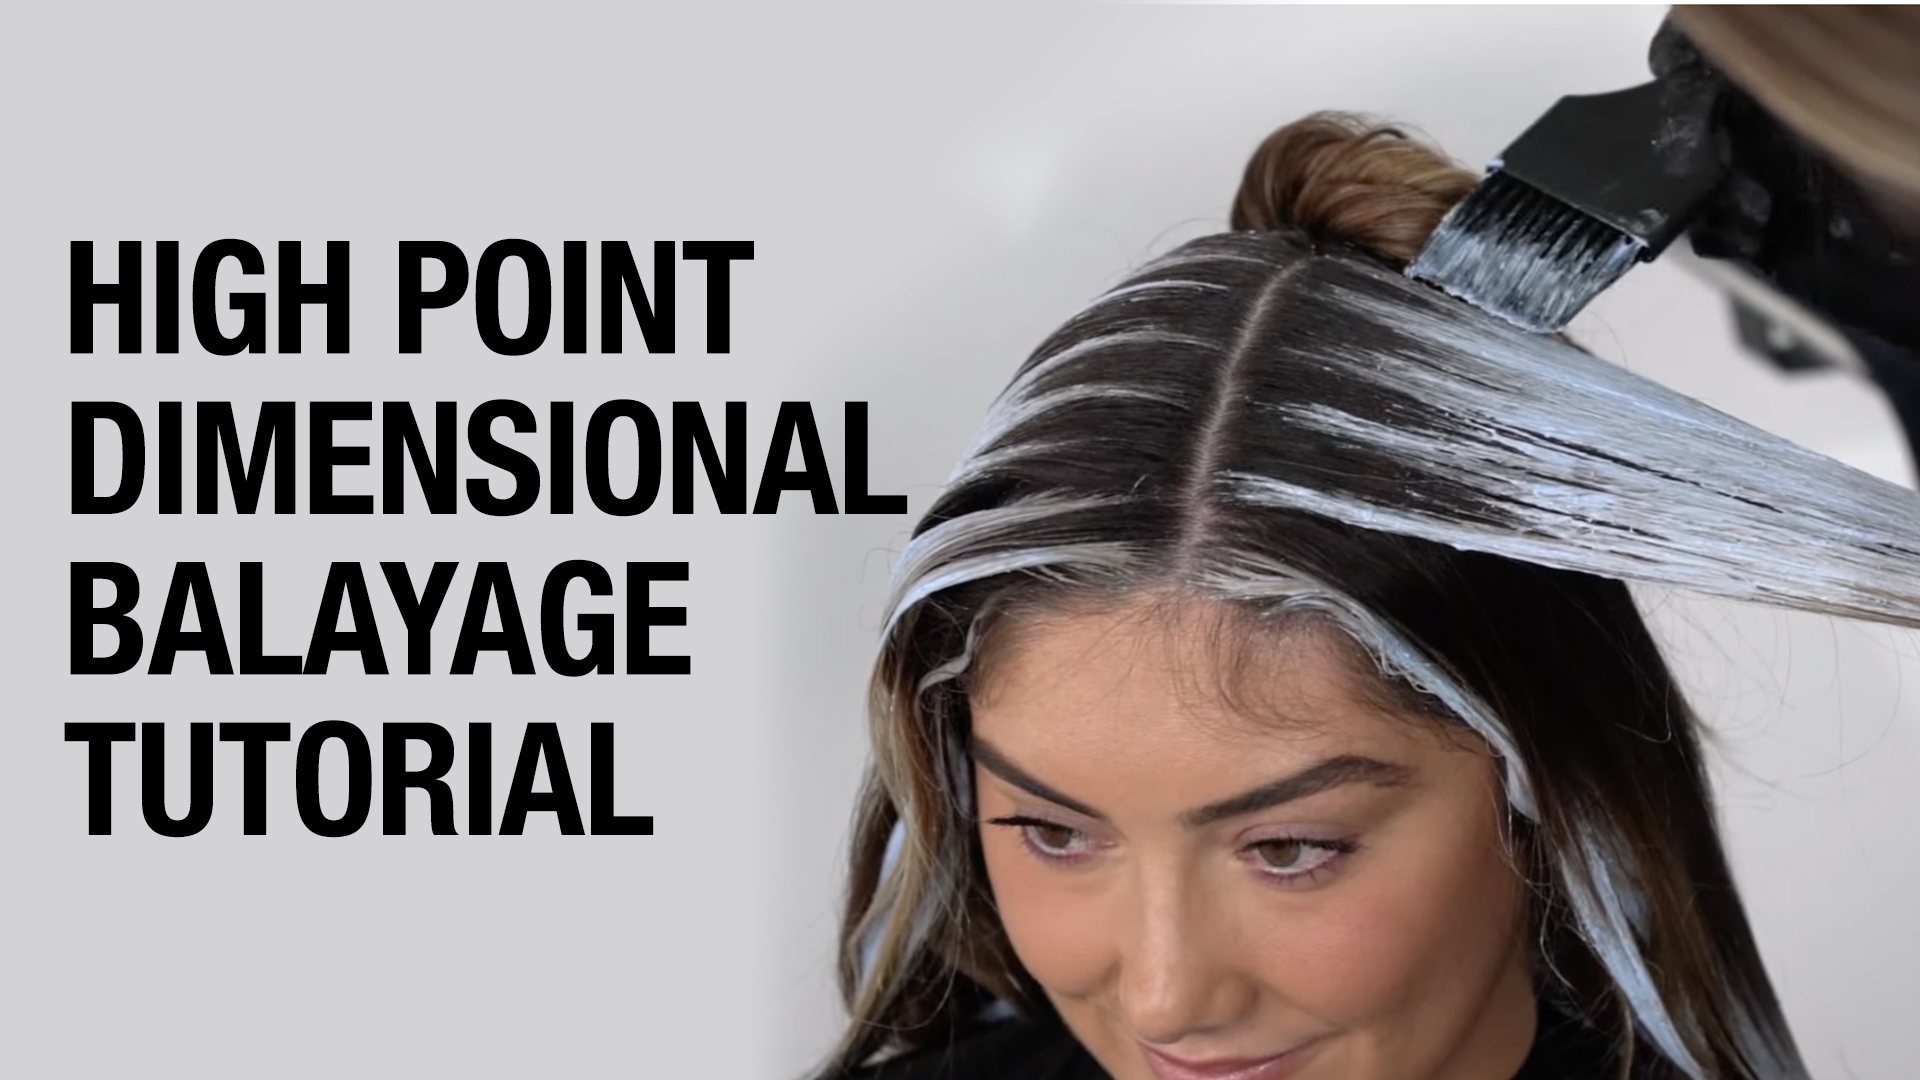
Looking for new and efficient ways to balayage your clients that love to change things up? Kenra Professional knows that there are countless ways to create beautiful dimensional balayage. Here is a guide to be coupled with the video shown below that will lead you through a bulleted balayage process that is easy to follow along with the linked tutorial by Lo Wheeler Davis @lo_wheelerdavis. Let's dive into the steps of creating a stunning balayage on someone with pre-existing blonde that is grown out and needs a refresh.
Step 1: Preparing the Canvas
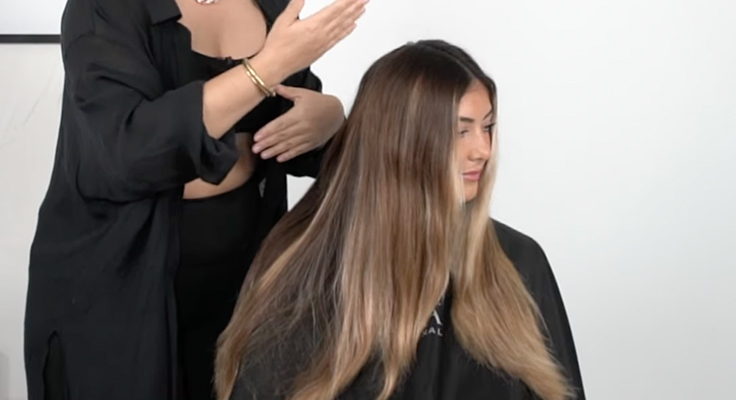
Begin by having a thorough consultation with your guest, assessing their natural base and previous color as well as the desired result.
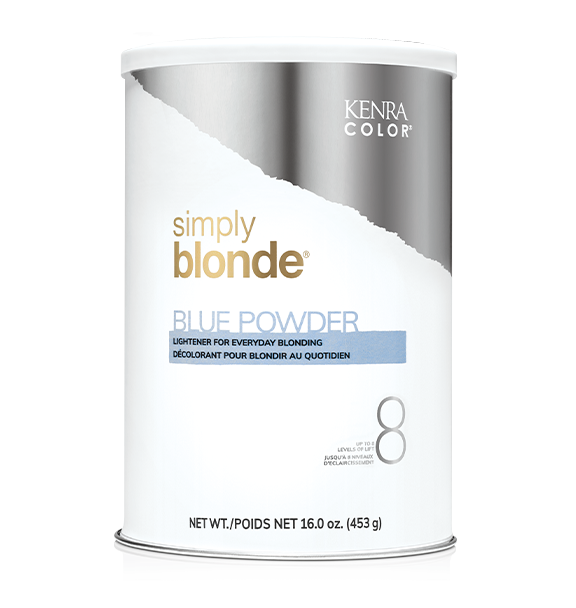
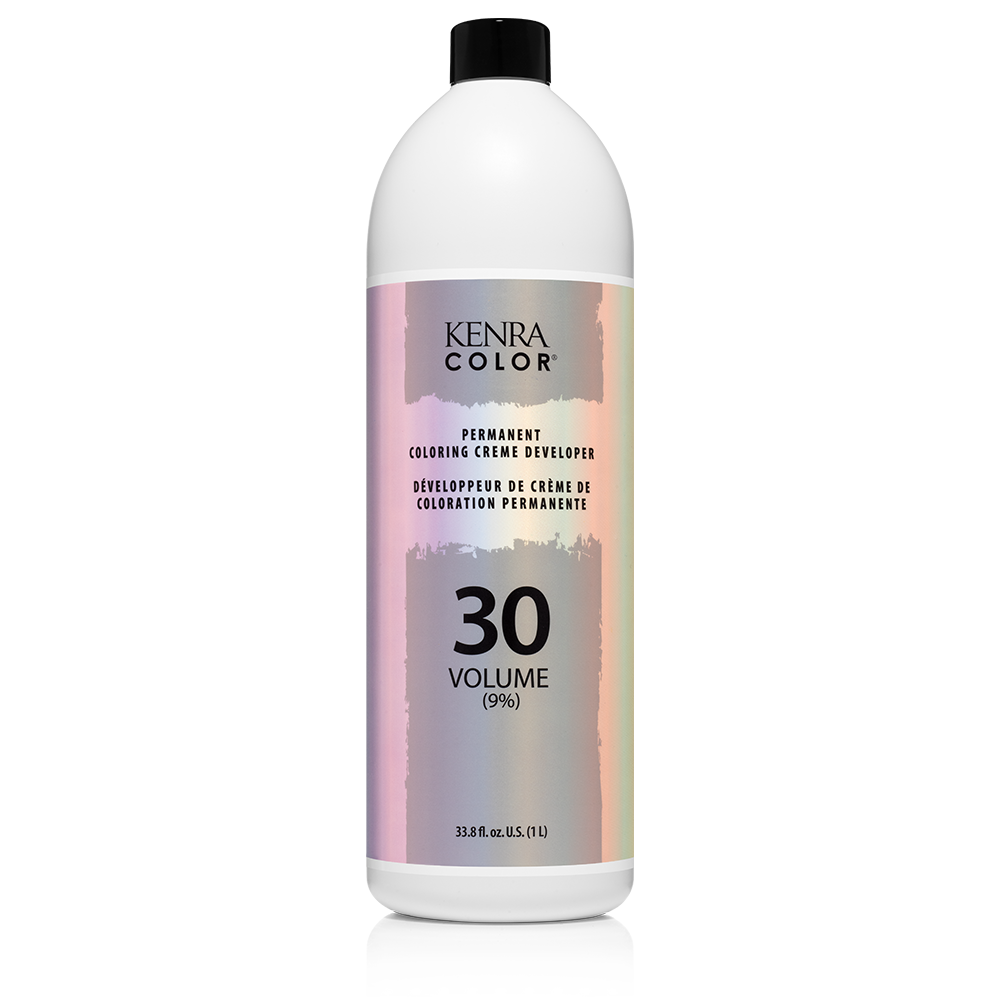
Based on the findings and levels of lift needed, use a lightener within Kenra Color’s Simply Blonde Lightener Collection that suits your needs. In the video below, Lo Wheeler uses Simply Blonde Blue Powder Lightener mixed with 30 Volume Developer for high-impact lift. Feel free to start with a lower developer and switch to a higher volume as you work up the head.
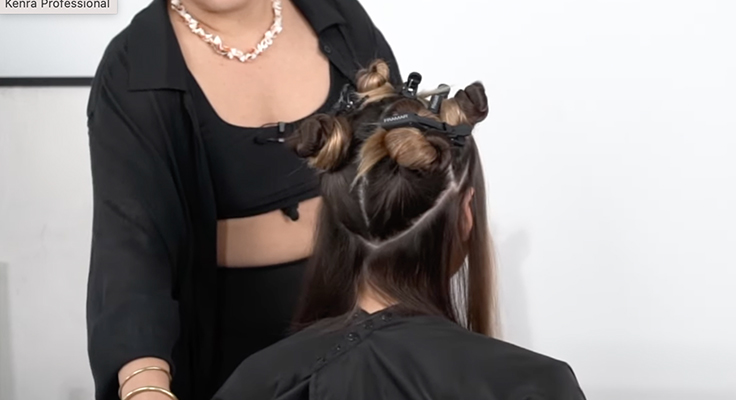
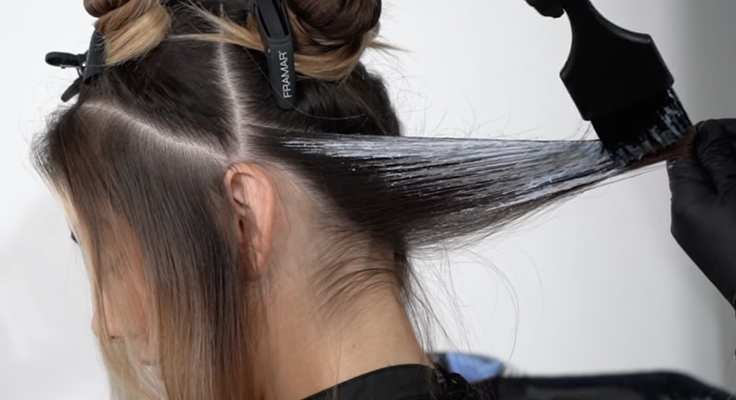
Step 2: Sectioning the Hair
Divide the hair into four manageable sections similar to a standard four quadrant placement but almost inverted slightly into a diamond, leaving the entirety of the hairline out on the entire head.
Prepare to start the application with a “V-shaped” sub-section in the back to balayage the neckline.
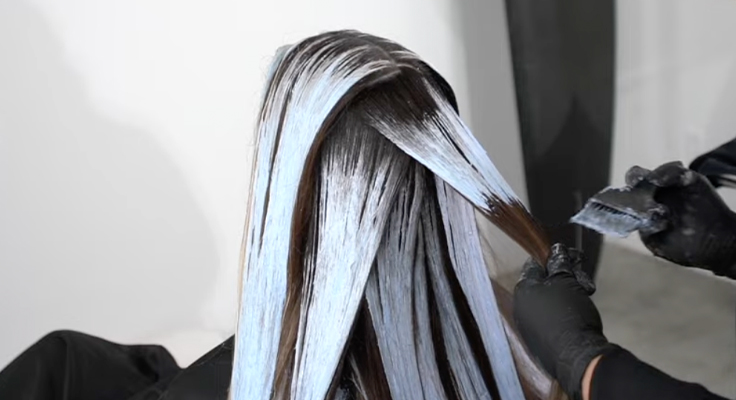
Step 3: Applying the Lightener
For those who tend to wear their hair up a lot, focus on the back two quadrants and the 'money piece' area in addition to the crown for maximum impact.
Be assertive and generous with your saturation to avoid uneven lift. Consider using two color brushes—one for application and one for blending.
In the back two quadrants, consider the option of combing up some of the nape hairs to create a more solid sheet of color when the hair is let down, ensuring a soft, diffused baby light effect.
For the face frame, apply a heavy panel, sweeping the lightener gently towards the root for a subtle transition between the base and dimension (this is where the blending brush comes in handy).
Work with angled, diagonal sections for a natural fall when the hair relaxes.
Step 4: Creating Dimension
Add heavier panels in the front hairline, creating dimension and depth.
In the back section, use large surface panels to break up the color and avoid full saturation on these sections, creating soft, subtle dimension.
Process the color for around 45 minutes, ensuring you monitor the progress.
Once the desired level of lift has been achieved, shampoo with your favorite Kenra or Kenra Platinum Shampoo.
Step 5: Shadowing and Toning
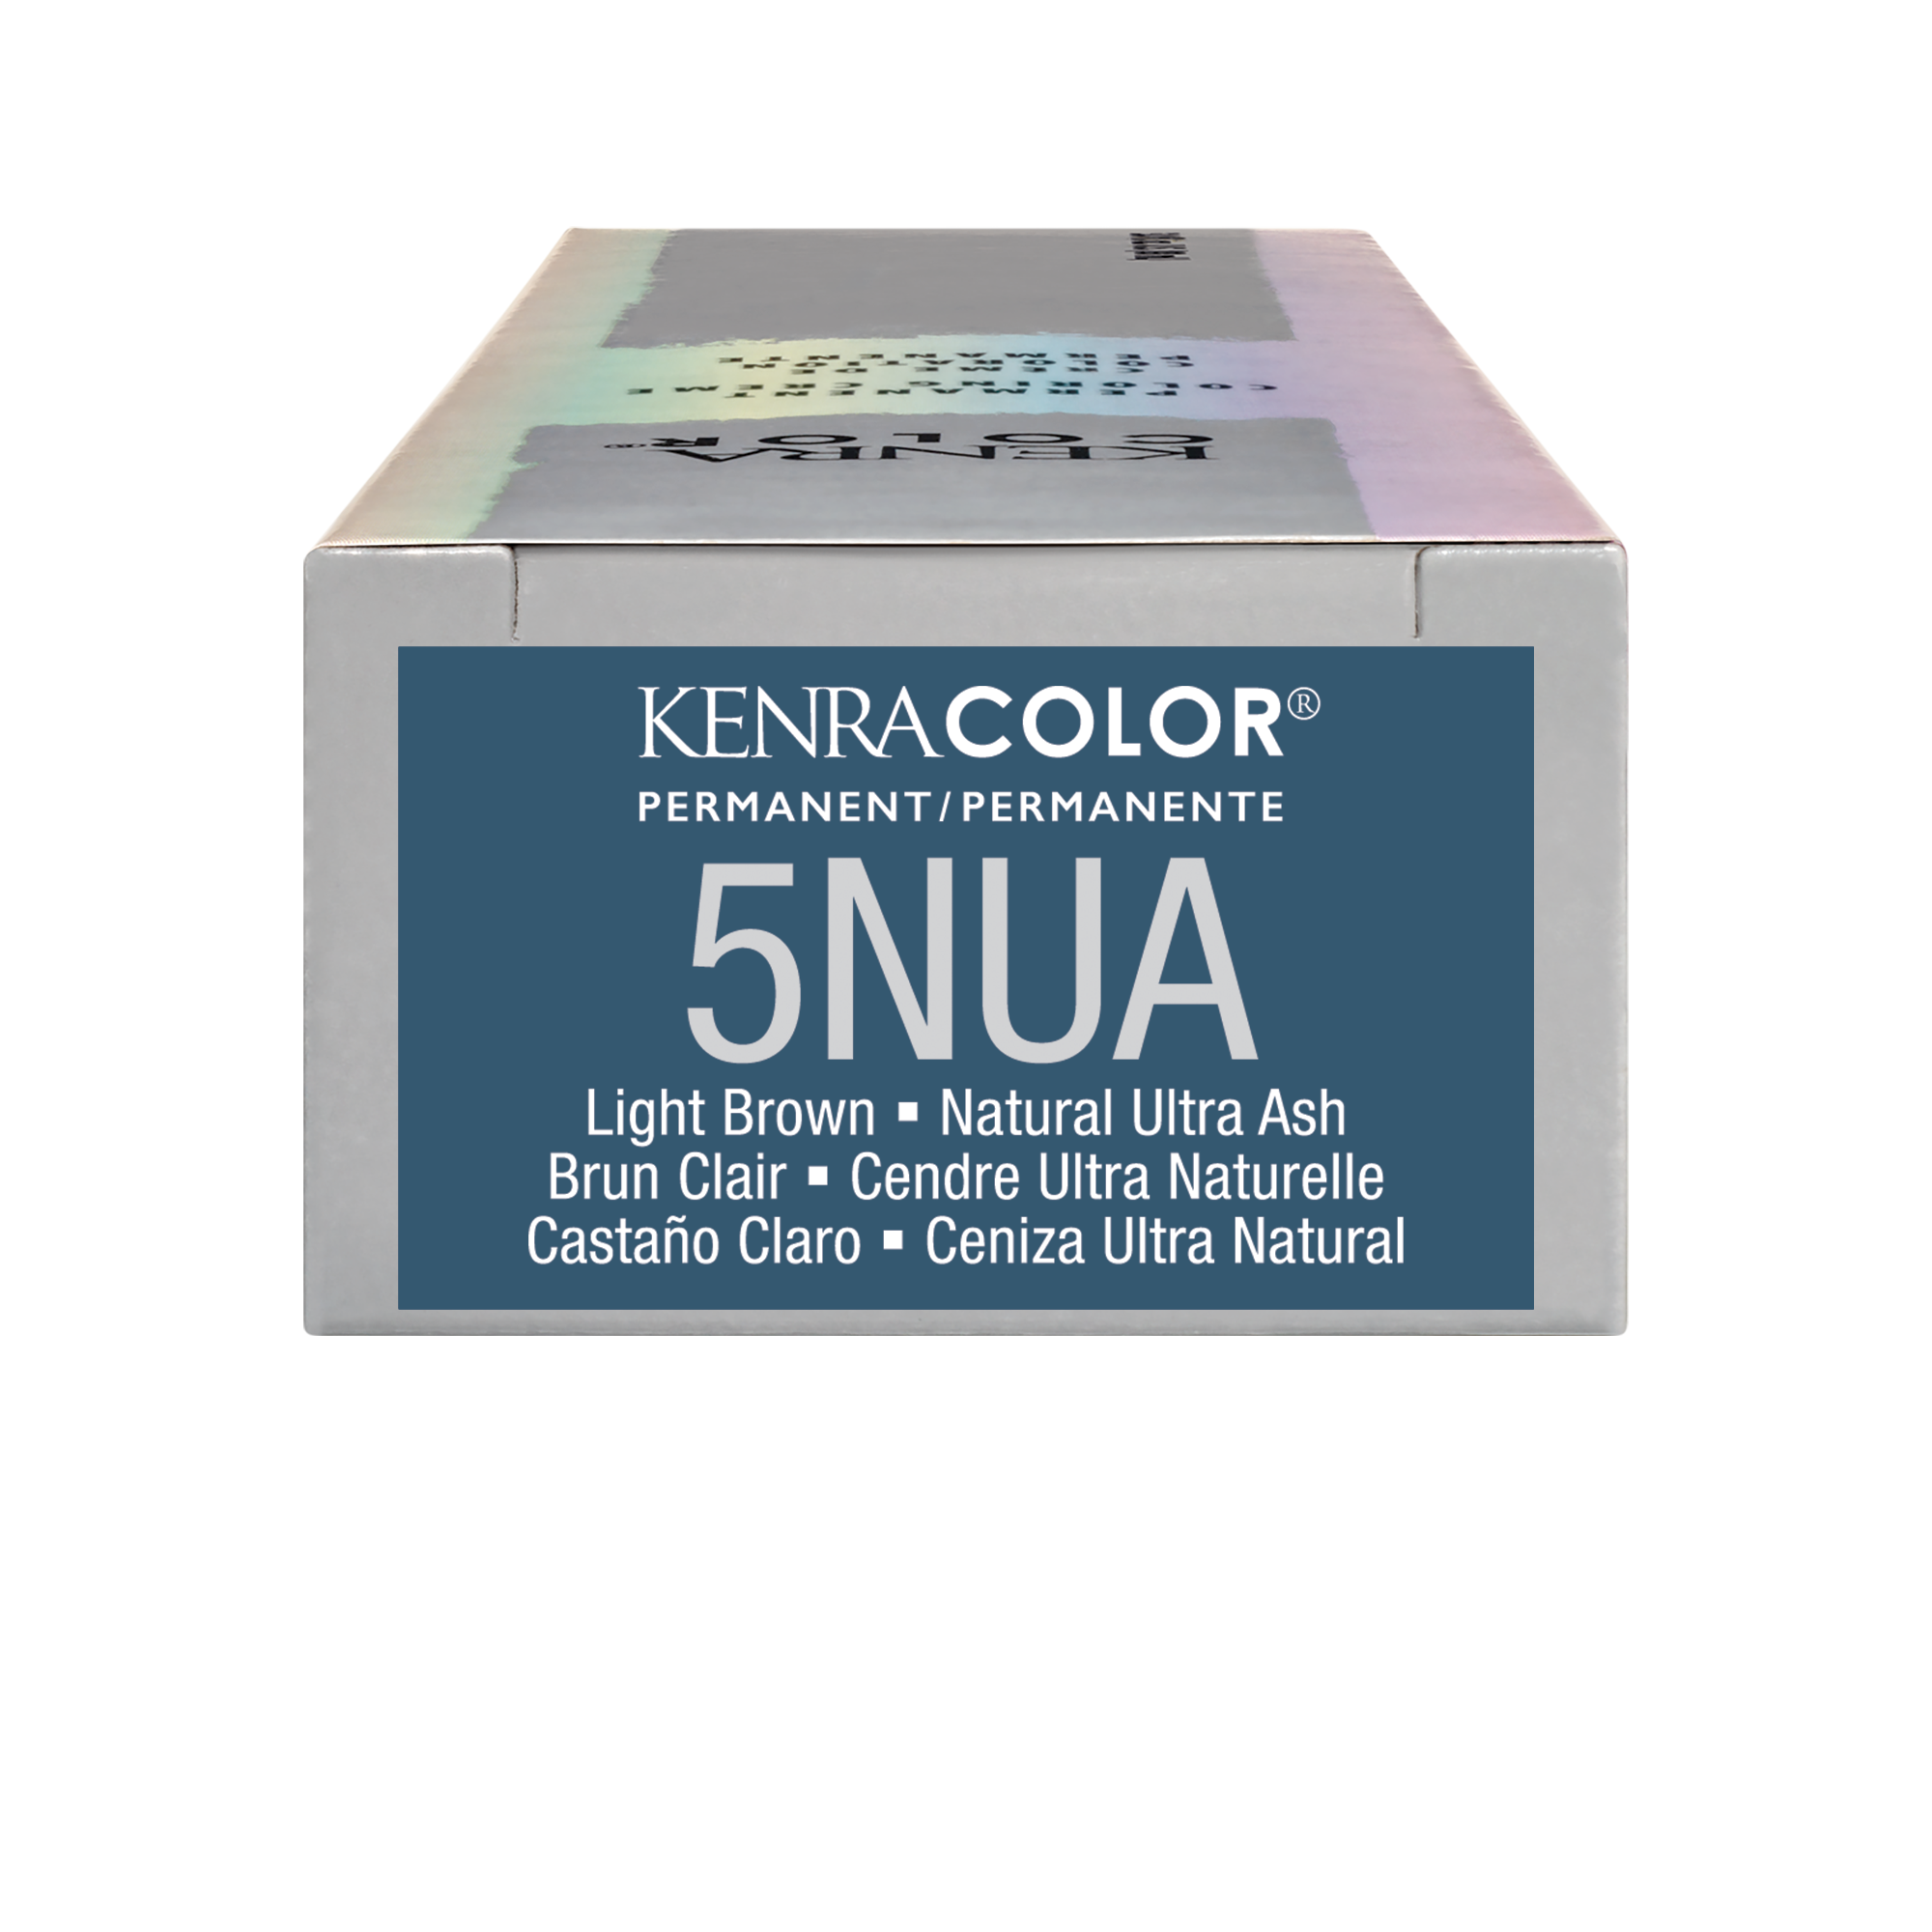
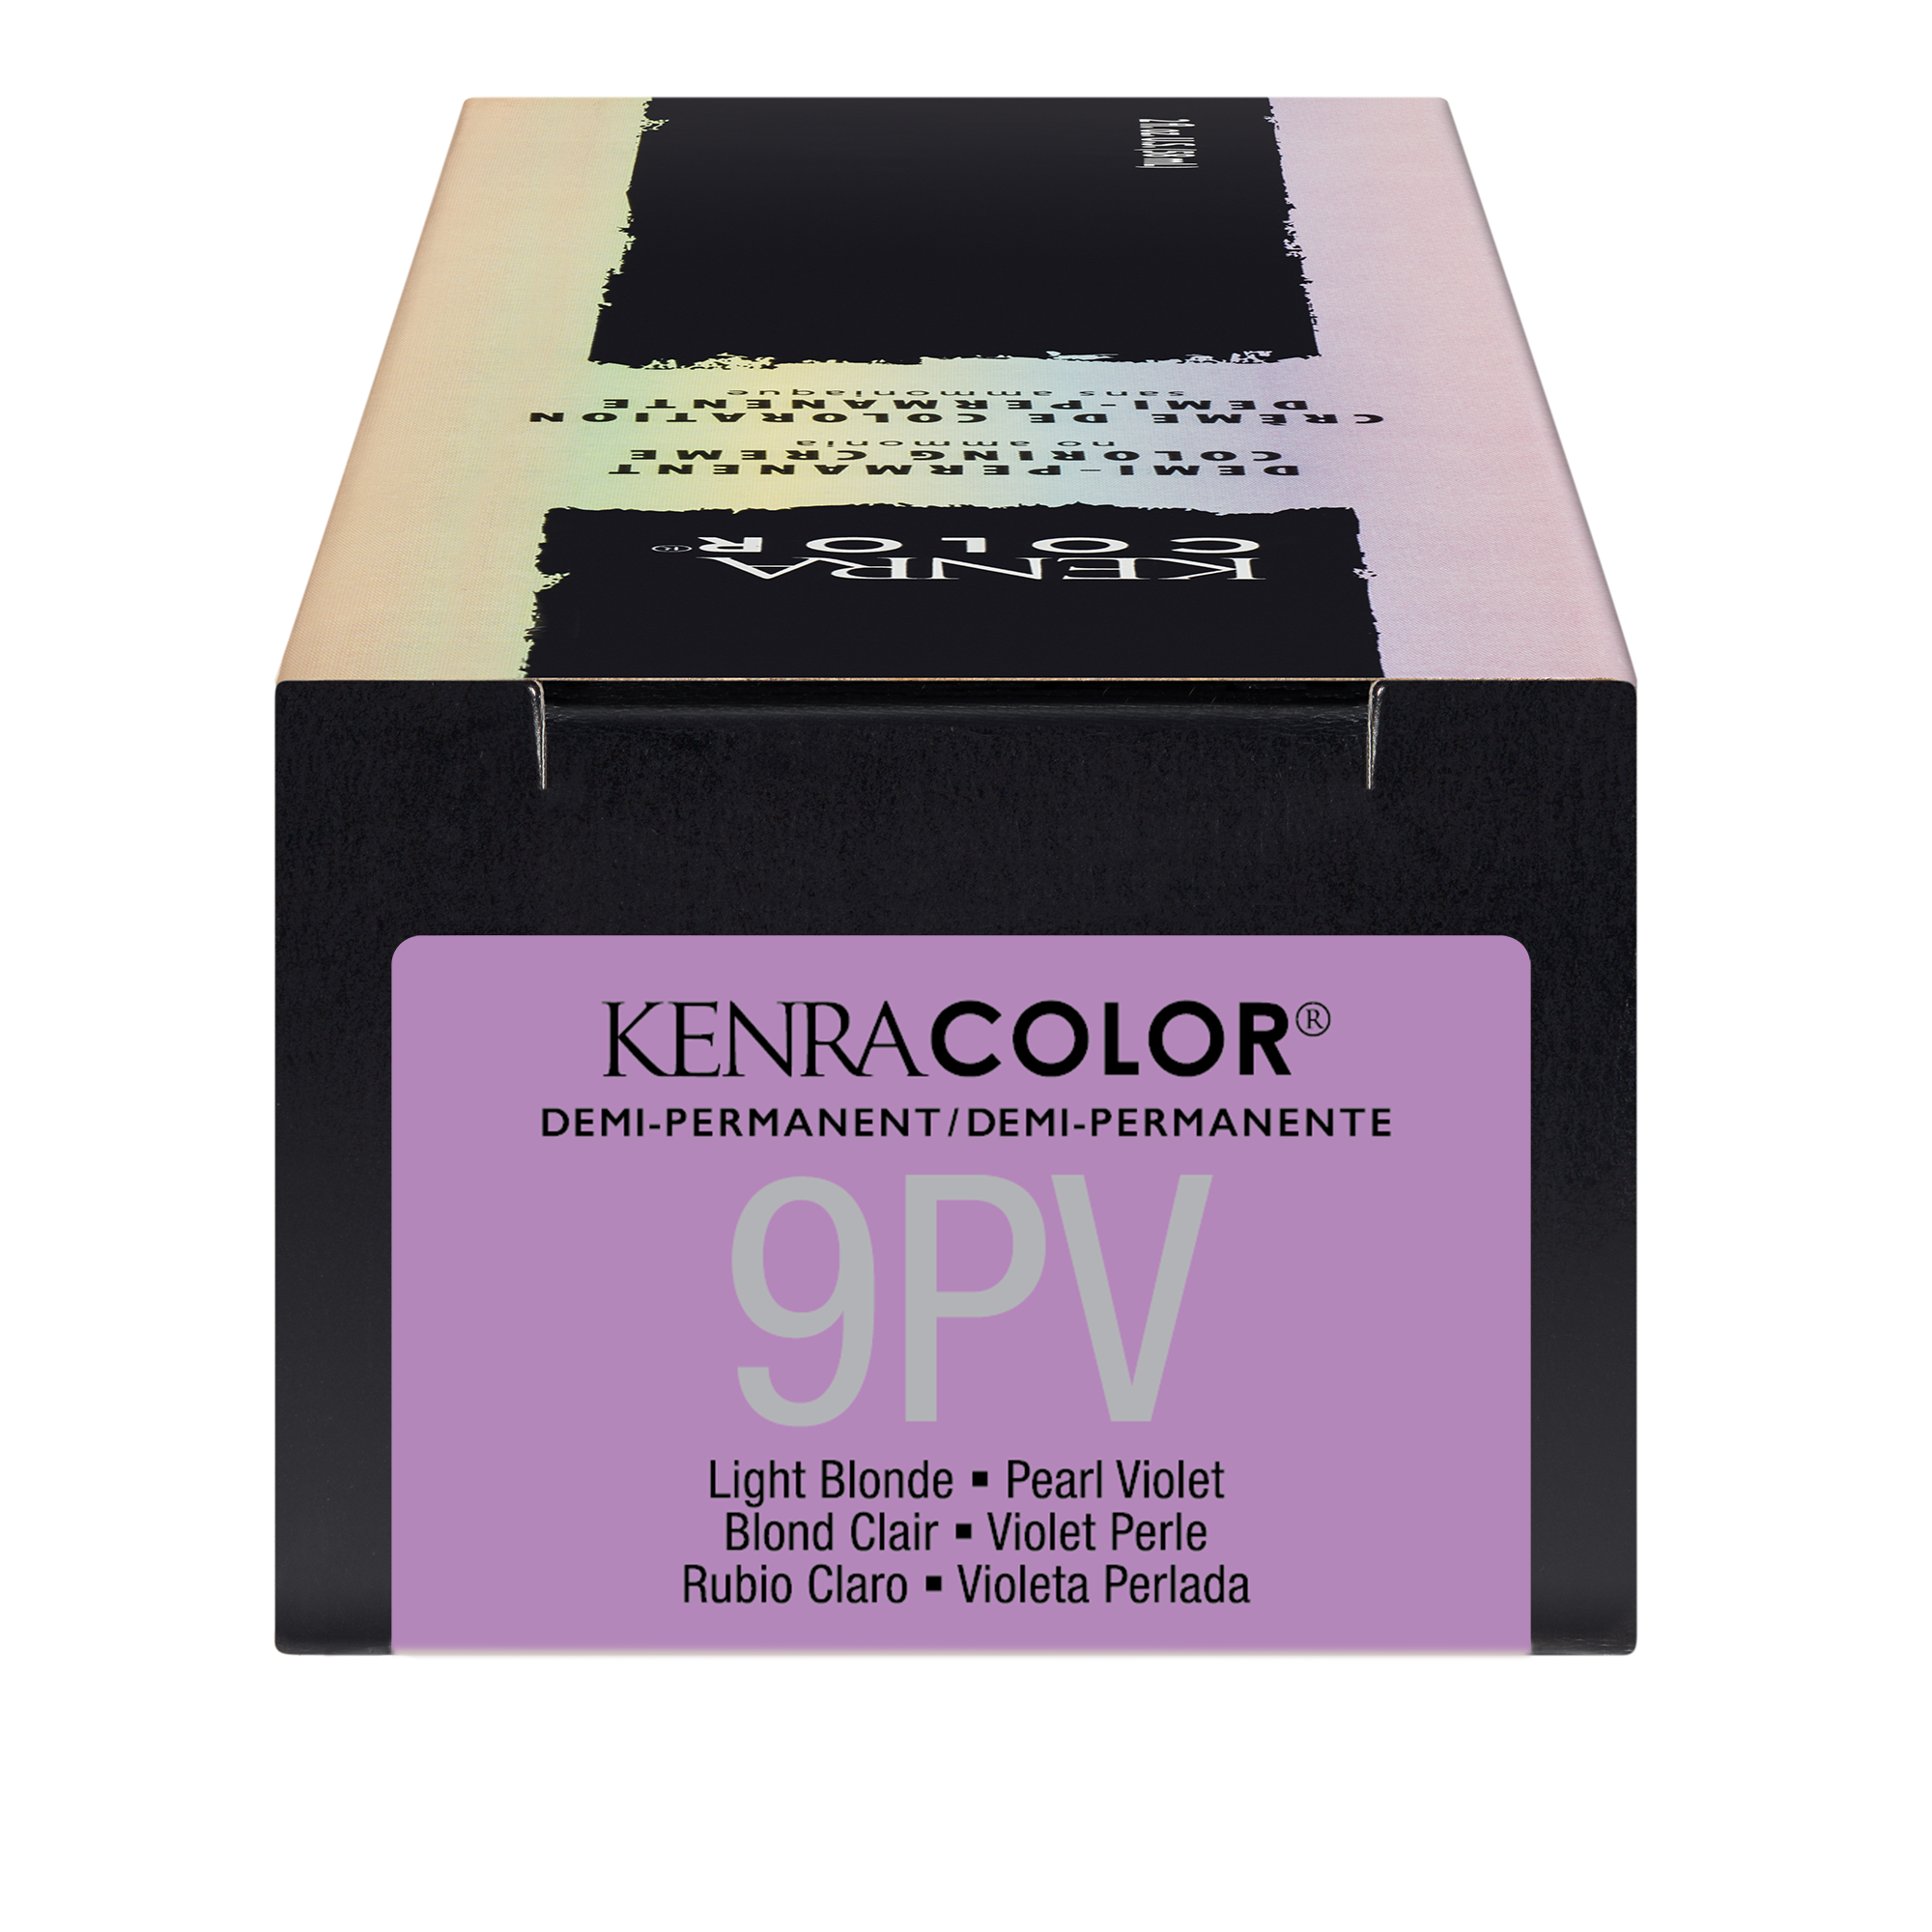
If a root shadow is needed or desired, shadow the balayage with a cool-based color (example shown below: Kenra Color 5NUA) to neutralize unwanted warmth.
Tone the overall hair with a desired shade with a level at or below the lifted hair (example shown below: Kenra Color 9PV Demi) for a soft and seamless effect.